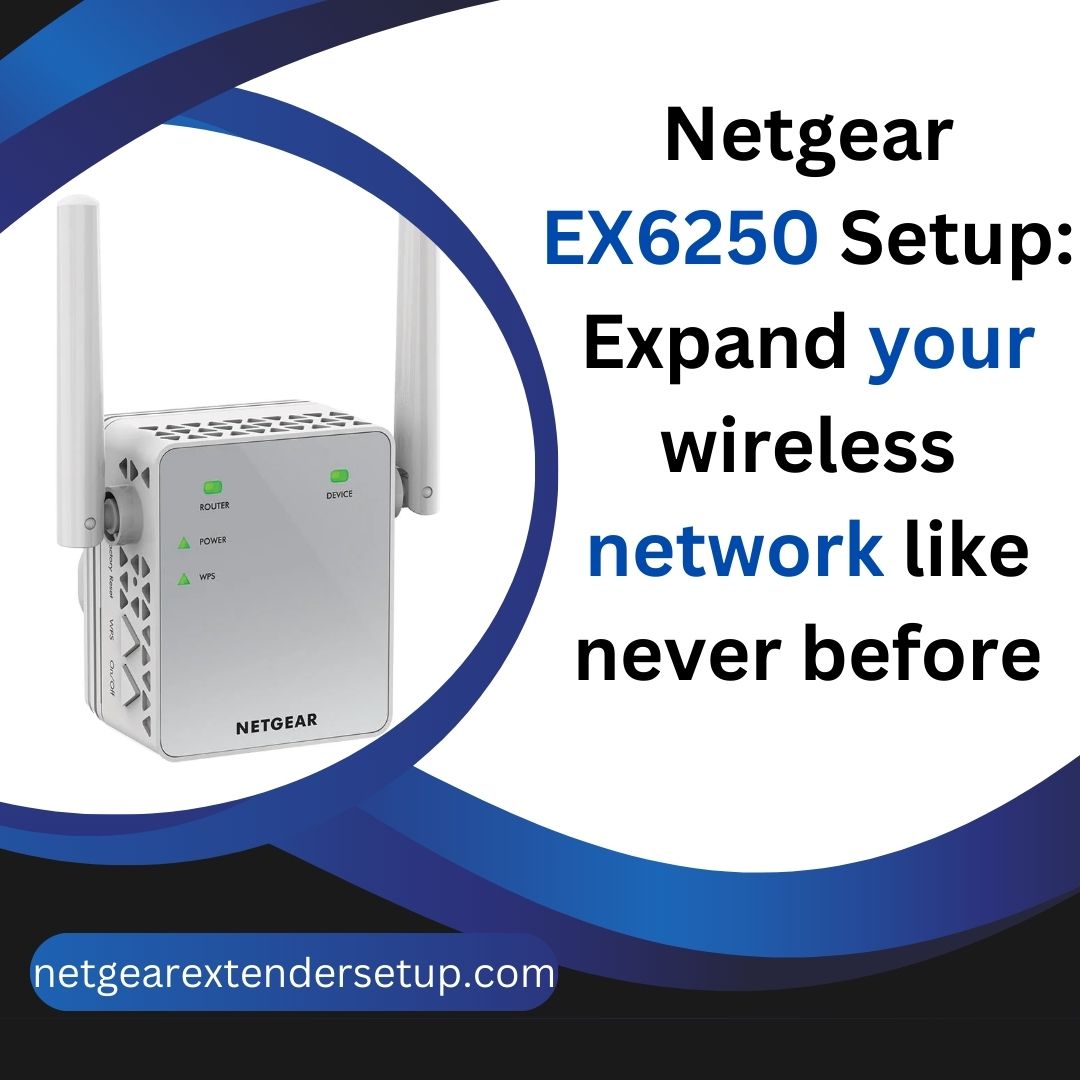
While a standard WiFi router may cover a small home or apartment adequately, its range might fall short in larger houses or workplaces, resulting in frustrating dead zones. These dead zones can disrupt your enjoyment of Spotify or Netflix. Fortunately, performing the Netgear EX6250 setup can resolve this issue. The Netgear EX6250 extender boasts a speed of up to 750 Mbps (Megabits per second).
Although range extenders are effective and user-friendly, setting them up can be challenging. Over 50,000 users face difficulties installing their Netgear EX6250 extenders. Recognizing this common issue, we present this tutorial to guide you through the trouble-free setup of your new Netgear EX6250 device. Let’s explore the process in detail.
Effortless Netgear EX6250 WiFi Range Extender Installation Guide
Placement
Proper placement is pivotal for the success of your EX6250 range extender setup. Stay flexible and be prepared to relocate it if you encounter weak WiFi signals. Identify a wall socket positioned between the router and the dead zone. After completing the Netgear EX6250 setup, test internet access in the previously problematic area for optimal WiFi signal strength.
If finding an ideal spot proves challenging, employ an AC extension cable to position the extender where it functions optimally. For extenders with removable antennas, consider swapping them to enhance WiFi range and coverage.
Power On Your Extender
After securing the ideal location, activate your Netgear EX6250 WiFi range extender by plugging it into a wall socket. Confirm a solid green power LED on the extender.
Establish Cable Connections
Use an Ethernet cable to connect your Netgear EX6250 wireless range extender to the home router. Ensure the cable is free from cuts and damages, and make precise, finger-tight connections.
Log In to Your Extender
Follow these steps to log in to your Netgear EX6250 range extender:
- Access your computer with admin privileges.
- Open a preferred internet browser.
- Enter mywifiext.net in the address bar.
- The login window will appear.
- Enter the username and passphrase.
- Click the Log In button.
Access the Smart Setup Wizard
Upon logging in to your Netgear EX6250 setup page, the dashboard will reveal the Netgear EX6250 setup wizard. Follow the on-screen instructions provided by the wizard to efficiently set up and activate your extender.
Read More: Netgear Genie Setup on a Windows PC
Use Netgear Router as Extender
FAQ:
A: The Netgear EX6250 is your ticket to breaking free from the shackles of dead zones and weak signals. With this setup, you’ll witness a wireless network that goes beyond the ordinary.
A: Placement is the name of the game. Find that sweet spot between your router and the dead zone – it’s like the magic center stage for optimal performance. Can’t find it? No worries! Grab an AC extension cable and get creative.
A: The power LED is your go-to indicator. When you plug in your EX6250, aim for a solid green glow. Green means your EX6250 is ready to rock the wireless world.
A: Think of the Ethernet cable as the hero’s sidekick. It ensures a smooth operation and a reliable connection between your Netgear EX6250 and home router. No cuts or damages allowed – we’re aiming for perfection.
A: You’re the VIP admin here. Open any browser, type in mywifiext.net, enter your username and passphrase, and hit the Login button. Welcome to the backstage of your wireless world.