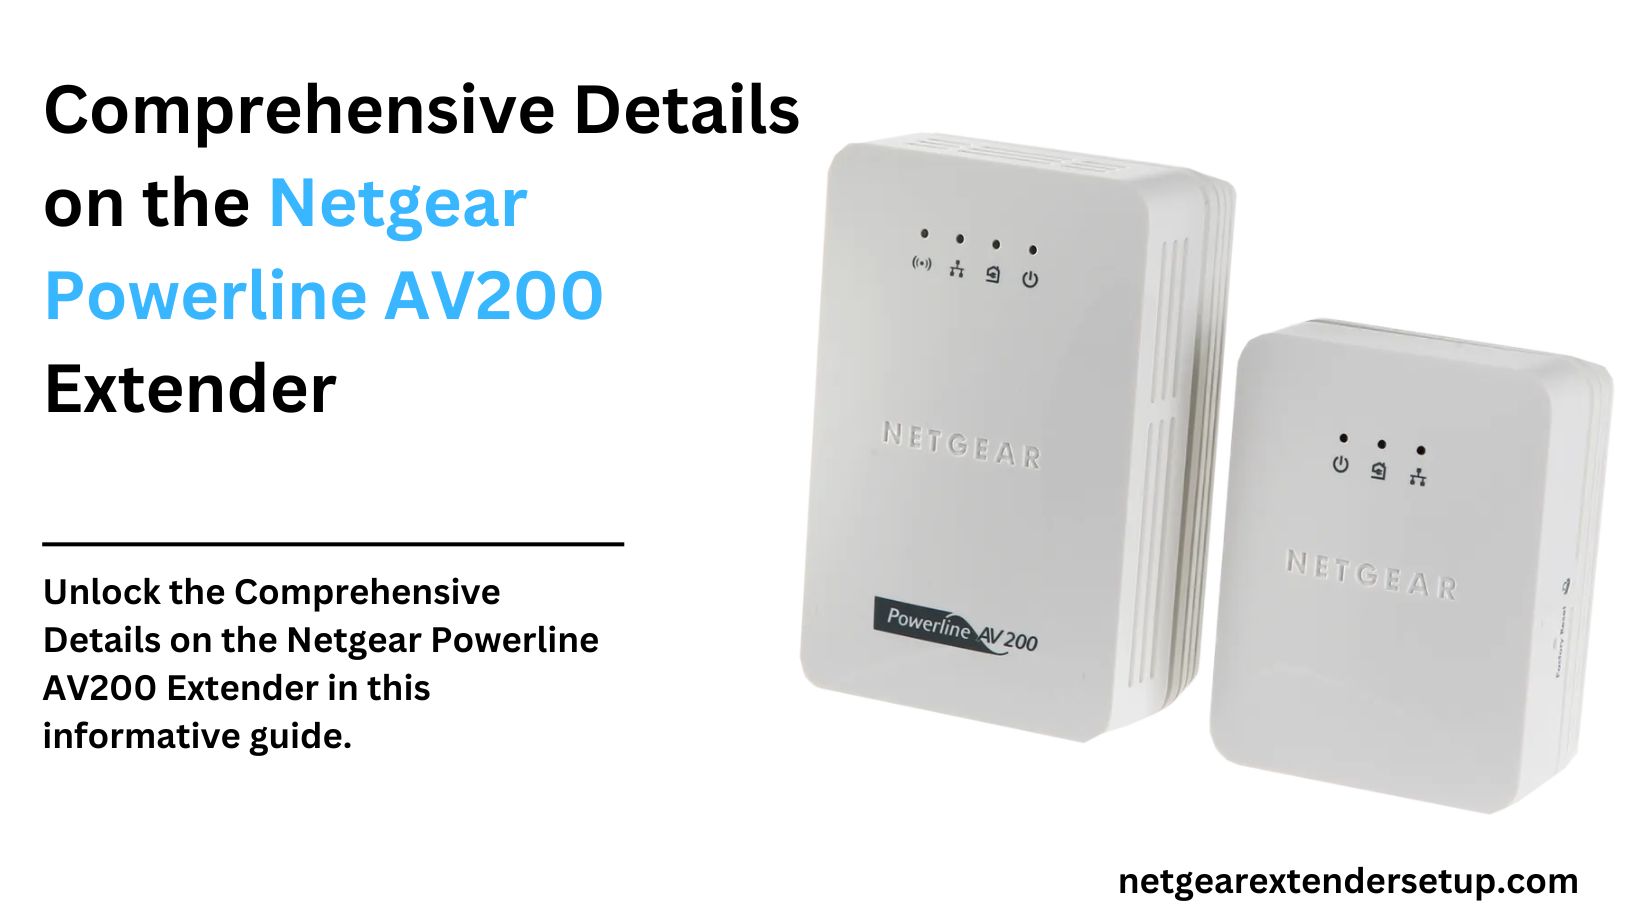
It’s no secret that a Powerline adapter or extender connects to your home network through a LAN connection and then expands the network through electrical wiring. Various Powerline extenders are available these days, but the standout product capturing everyone’s attention is the Netgear Powerline AV200 adapter. While it operates similarly to other Powerline adapters, what sets it apart is the inclusion of a configuration CD.
With the Netgear Powerline AV200 adapter, users don’t need to access mywifiext.net to adjust Powerline network settings. The CD conveniently loads the device dashboard and guides users through the configuration process. However, the initial focus should be on installing the Powerline device’s hardware. How is this done? Let’s delve into the steps!
How to Add Netgear Powerline AV200 Adapter:
The Powerline network is established when two or more Powerline adapters or extenders are added to the home network. The Netgear Powerline AV200 extender includes two units, giving you the flexibility to choose one for a direct connection with the host networking device. The following steps guide you on using electrical wiring and your host router to create a Powerline network:
1. Plug one Powerline adapter (Adapter A) into a room where your host router is located (Room 1).
2. Use the Ethernet cable from the package to connect Powerline Adapter A to your host router.
3. Turn on Adapter A, followed by the router. The Power light on Adapter A will become solid after a few minutes.
4. Plug another adapter (Adapter B) into another room (Room 2). If the Pick a Plug LED turns red, connect it to another socket.
5. Once you see the green or amber LED on Adapter B, it becomes part of the home network. Your next step is to set up the Powerline network using AV200 extenders.
Steps for Configuring a Network using the Powerline AV200 Extender:
To complete further configuration, access the Netgear WiFi extender setup wizard on a computer:
1. Connect your computer or extender to Powerline Adapter B for initial setup, using an Ethernet cable.
2. Insert the Resource CD into the computer.
3. If your host router is from Netgear, the setup utility will automatically pop up, guiding you to set up the Netgear Powerline AV200 network.
4. If you have a non-Netgear router or the router isn’t detected, enter the settings manually.
5. Once configured, disconnect the Ethernet cable from Powerline extender B.
6. Place the extender in a room with dead zones, such as Room 3.
7. Start enjoying the internet through Powerlines!
Netgear Powerline AV200: LED Description:
Now that your Powerline network is configured, understanding its LED description is crucial for identifying and diagnosing problems. Here’s a breakdown:
1. Power LED:
– Solid green: Power is on.
– Blinking green: Adapter is restarting.
– Amber: Power Saving mode is active.
– Off: No electrical power.
2. Pick A Plug LED:
– Solid green: Link rate > 80Mbps (Good connection).
– Amber: Link rate >50, <80 (Average connection).
– Red: Link rate is less than 50Mbps (not ideal).
3. Ethernet LED:
– Solid: Ethernet port is linked but no activity.
– Blinking: Ethernet port is active (data transfer).
– Off: No Ethernet connection.
Netgear Powerline AV200 Extender: Buttons:
In addition to LED lights, Powerline adapters have RESET, SECURITY, and ON/OFF buttons:
1. RESET Button:
– Resets the adapter to default settings when pressed for 1 second.
2. SECURITY Button:
– Pressing it on two Powerline adapters for 2 seconds within 2 minutes creates a secure network.
3. ON/OFF Button:
– Assists in the wireless setup, i.e., the WPS setup of the network.
Conclusion:
This concludes the guide on installing a Netgear Powerline AV200 extender. Alongside the installation process, you’ve gained insights into LED and button descriptions. We hope this information empowers you to maximize the potential of your wired network.
Read More: Netgear WiFi Extender Not connecting with Spectrum Router
FAQs:
To reset your Netgear AV200, locate the reset button, usually on the device’s side. Press and hold it for 10 seconds until the power LED blinks, indicating a successful reset.
Yes, you can use multiple Netgear AV200 units within your home. Each unit extends the network’s reach, ensuring consistent connectivity throughout.
Place the extender in a location where it’s within the same electrical circuit as your router. Avoid using extension cords, as they may impact performance.
Is the Netgear AV200 compatible with all routers?
The Netgear AV200 is designed to be compatible with most routers. However, it’s recommended to check the official compatibility list on Netgear’s website for optimal performance.
While primarily designed for residential use, the Netgear AV200 can be utilized in a small business setting to enhance network coverage and connectivity.
Ensure a secure network by enabling encryption through the device’s software. Set a strong password to prevent unauthorized access.