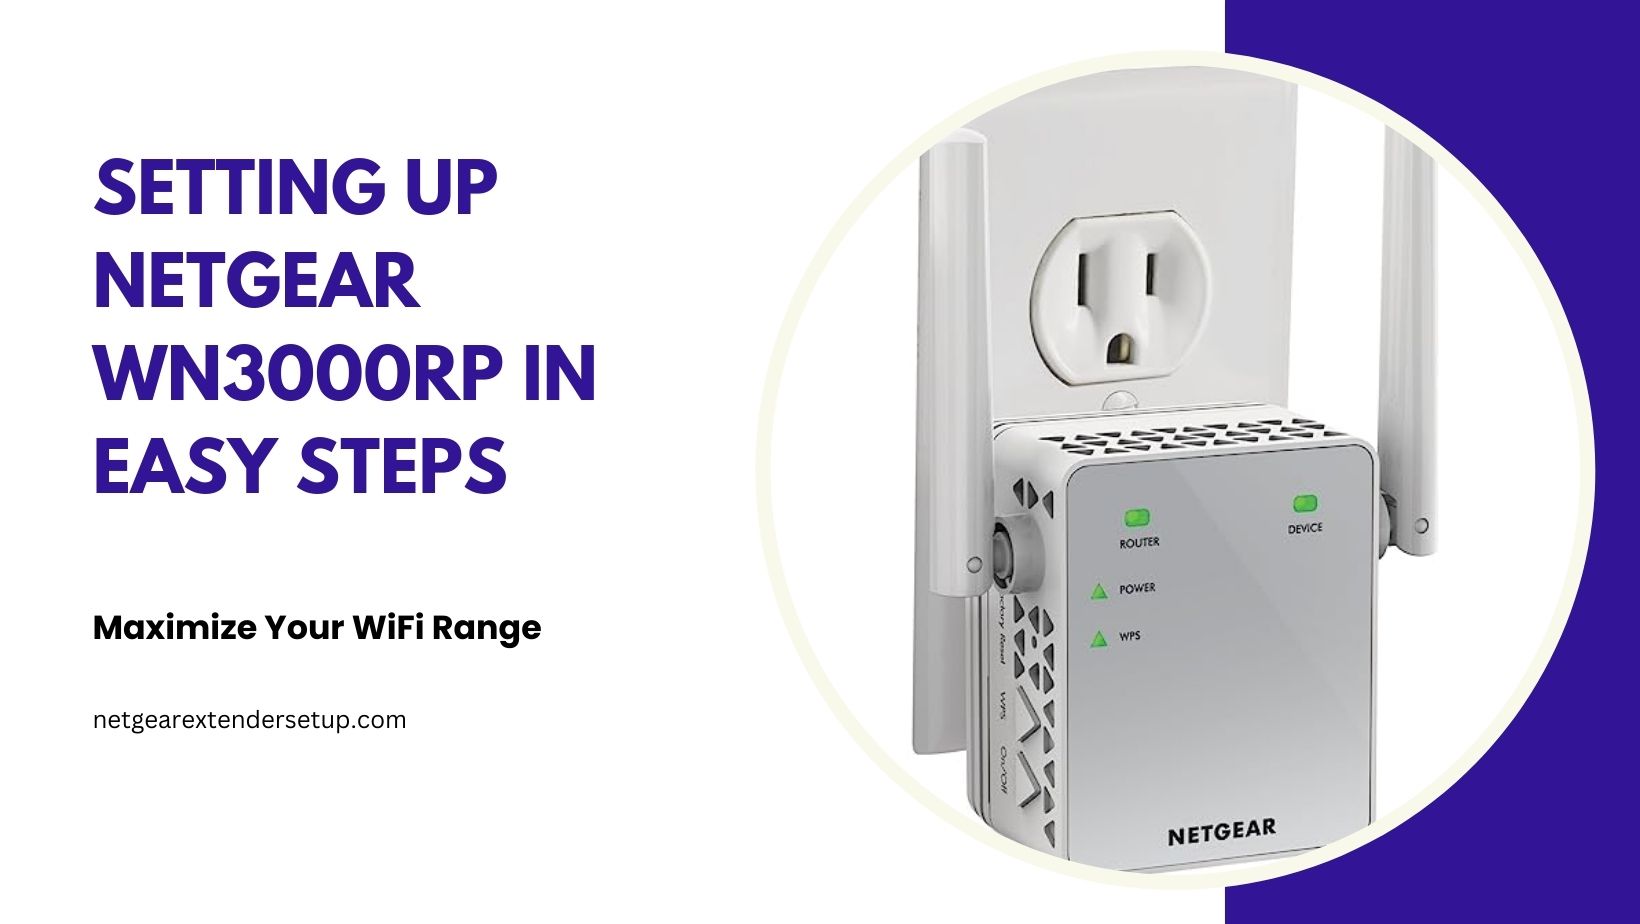
Enhance your home network’s coverage with our step-by-step guide on setting up the Netgear WN3000RP WiFi extender. In this comprehensive walkthrough, we’ll ensure you can effortlessly extend your WiFi range, providing seamless connectivity throughout your space.
Prerequisites
Before diving into the setup process, gather the necessary items:
- Netgear WN3000RP WiFi extender
- Power source for the extender
- Access to a computer/mobile device
- Existing WiFi network details (SSID and password
Configure the Netgear WN3000RP Universal WiFi Extender
Setting up your Netgear WN3000RP WiFi extender can be done either manually or through the WPS (Wi-Fi Protected Setup) method. Below is a comprehensive guide for both setup methods:
Manual Setup:
1. Place your WN3000RP extender in a position where it can receive a strong signal from your existing WiFi router while remaining close to the area where you require the extended WiFi coverage.
2. Connect the extender to a power outlet and watch the Power LED turn green.
3. Use a WiFi-capable device (such as a laptop or smartphone) to establish a connection to the “NETGEAR_EXT” default WiFi network. The default password is usually found on the extender’s label.
4. Open a web browser, type “mywifiext.net” into the address box. If that fails, try “192.168.1.250.”
5. Follow the on-screen instructions to create a Netgear account. If you already have logged in using your credentials.
6. Select the existing WiFi network that you wish to extend and press “Next.”
7. Enter the WiFi password for your existing network and click “Next.”
8. You may be prompted to connect your device to the extender’s WiFi network. Follow the instructions and reconnect to the new extended network.
9. Wait for the extender to connect to your existing network. You will get a confirmation screen once you have connected. Click “Finish” to finish the installation.
WPS Setup:
1. Connect the extender to a power outlet and watch the Power LED turn green.
2. On your WiFi router, press the WPS button. The extender’s WPS LED should begin to blink.
3. Within 2 minutes, press the WPS button on the WN3000RP extender. The WPS LED on the extender should turn solid green, indicating a successful connection.
4. If needed, you can move the extender to a different location to optimize WiFi coverage.
5. Use your WiFi-enabled device to connect to the extended network (SSID with _EXT at the end).
6. Open a web browser and go to “mywifiext.net” or “192.168.1.250
” to complete the setup if prompted.
Your Netgear WN3000RP WiFi extender is now set up and ready to provide extended WiFi coverage.
Troubleshooting Tips
➤ If you experience signal issues, consider adjusting the extender’s placement to minimise interference from obstacles and other electronic devices.
➤ Regularly check for firmware updates on the Netgear support website to ensure your extender operates with the latest features and security patches.
Conclusion
By following this comprehensive guide, you’ve successfully set up your Netgear WN3000RP WiFi extender, expanding your network’s reach. Enjoy enhanced connectivity in every corner of your home or office space. For more tips and support, visit the official Netgear support portal.
Also read:
Netgear Extender WiFi Connectivity Issues
Parental Control Not Working on Netgear N300 Extender
FAQs
Plug in, connect to “NETGEAR_EXT,” visit “mywifiext.net,” select your network, enter password, connect, and finish.
No, a Netgear account is needed for manual setup. Follow on-screen instructions to create or log in.
“NETGEAR_EXT” is the default network. Connect to it using the default password.
Power on, press WPS on your router, then press WPS on the extender within 2 minutes. Connect to the extended network.
Retry ensuring WPS is supported on your router and within range. If issues persist, consider manual setup for more control.