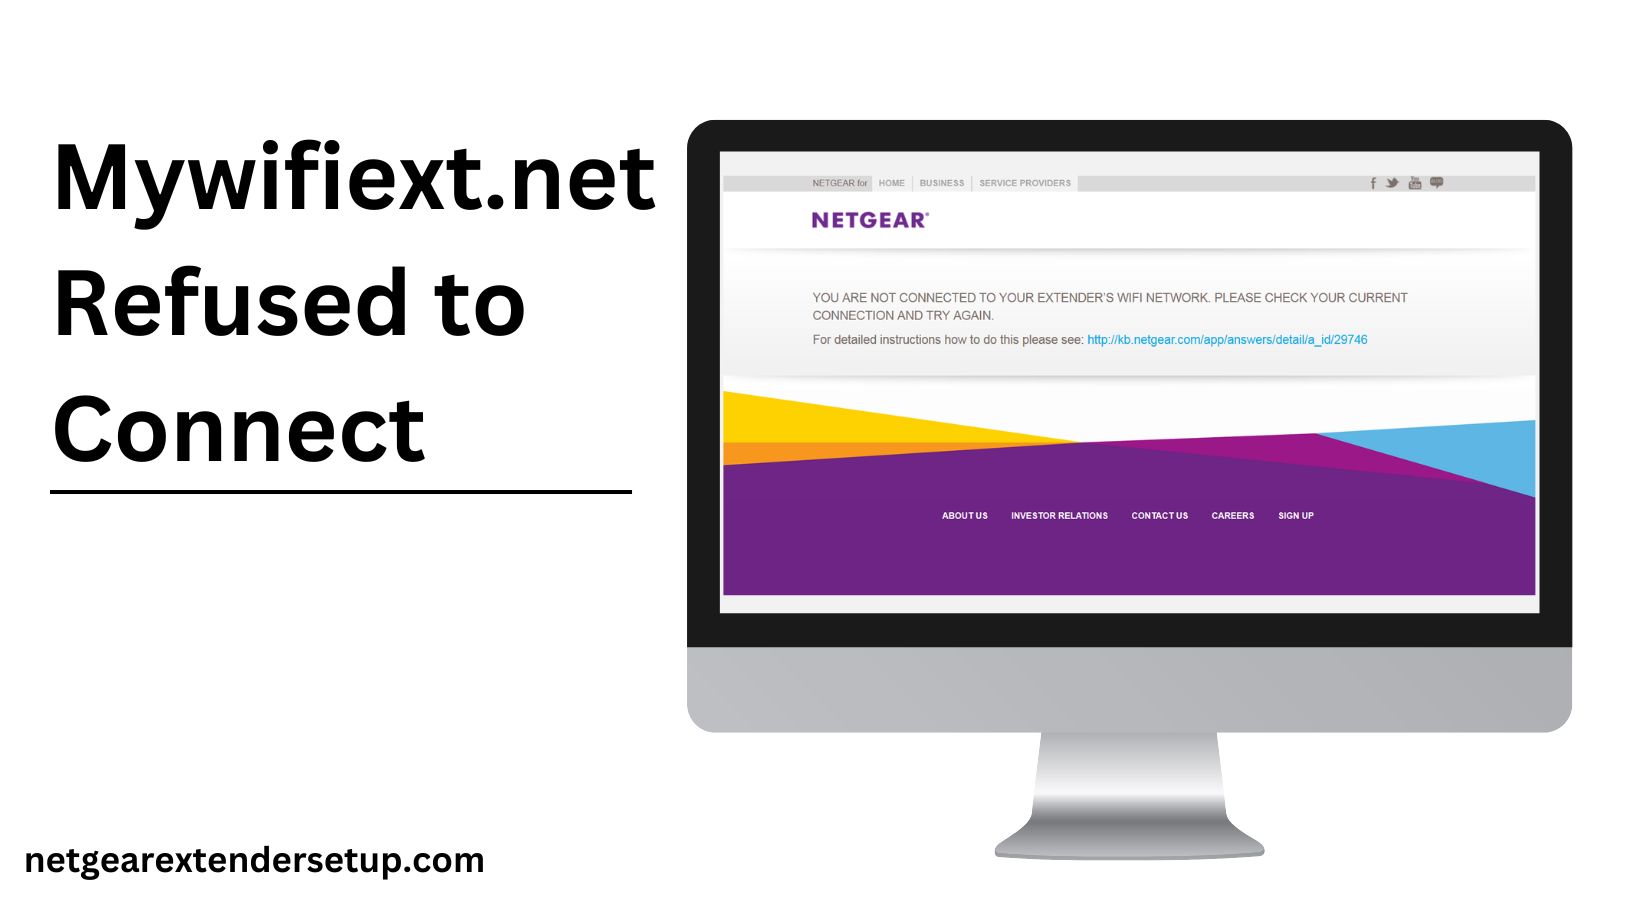
Users who possess Netgear range extenders understand the significance of accessing the default web address, mywifiext.net. It serves as the default gateway for making adjustments to the extender’s settings. However, not everyone experiences a seamless process. Some users have reported encountering the issue where mywifiext.net refused to connect when attempting to access the login portal. If you’ve faced this error, this blog provides insights into why it occurs and offers solutions.
Before Initiating Troubleshooting
Before delving into troubleshooting, it’s crucial to note that the default web address of your range extender is a local URL. It means you can only access it on the extender’s network and not on any random network unless features like Remote Management are enabled. Additionally, it requires following a predefined procedure.
Therefore, the computer or laptop attempting to access the local URL of your Netgear range extender must be connected to the extender’s WiFi. By default, the extender broadcasts its network under the name “Netgear_ext.” If you’ve customized the SSID during setup, connect to the new name. In case you’ve linked your computer to the extender using an Ethernet cable, ensure it’s not damaged.
Resolved: Mywifiext.net Refused to Connect
Outlined in the table below are the reasons explaining why you might face difficulty accessing the local login address of your WiFi range extender. Alongside the reasons, we’ve provided solutions to promptly resolve the issue.
To catalyze the troubleshooting process, consider restarting both your range extender and router. Disconnect both devices, power down the router, and then your wireless range extender. Wait for at least 30 minutes before reconnecting your WiFi devices and powering them up.
| S. No. | Reasons | Solutions |
| 1 | Outdated version of web browser | Install the latest stable version of the browser and clear cache and cookies. |
| 2 | Typos in the web address | Re-enter the web address into the URL field and avoid using the search bar. |
| 3 | Poor internet connection | Check the cable connecting the extender and router to ensure it is functioning correctly. |
| 4 | Antivirus software interruption | Temporarily disable antivirus software and attempt accessing the login URL again. |
| 5 | Web browser issue | Switch to a different web browser if a specific one is causing the mywifiext.net refused to connect error. |
These solutions are applicable to a device running on Windows OS, as mywifiext.net operates on Windows OS only. For Mac systems, extender management is achievable via the mywifiext.local address.
Still Encountering Issues?
If the aforementioned solutions do not resolve the problem you face while managing your range extender via the local login URL, consider resetting the extender. Attempting to use the default IP might not work, as there is a high probability that your host router has assigned a different IP due to a wired connection.
Without hesitation, press the Reset button on your extender for 30 seconds. After this process, your extender will reset, allowing you to set it up using the 192.168.1.250 IP address. Alternatively, you can use the local web address, ensuring you won’t encounter the mywifiext.net refused to connect error this time.
Read More: Netgear Powerline 1200
FAQs:
Follow the outlined steps in our troubleshooting guide, addressing issues like browser compatibility, internet connection, and antivirus interference.
No, mywifiext.net is compatible with Windows OS only. Mac users should utilize mywifiext.local for extender management.
If the troubleshooting steps prove ineffective, consider resetting the extender. Press the Reset button for 30 seconds, enabling successful setup with a designated IP address.