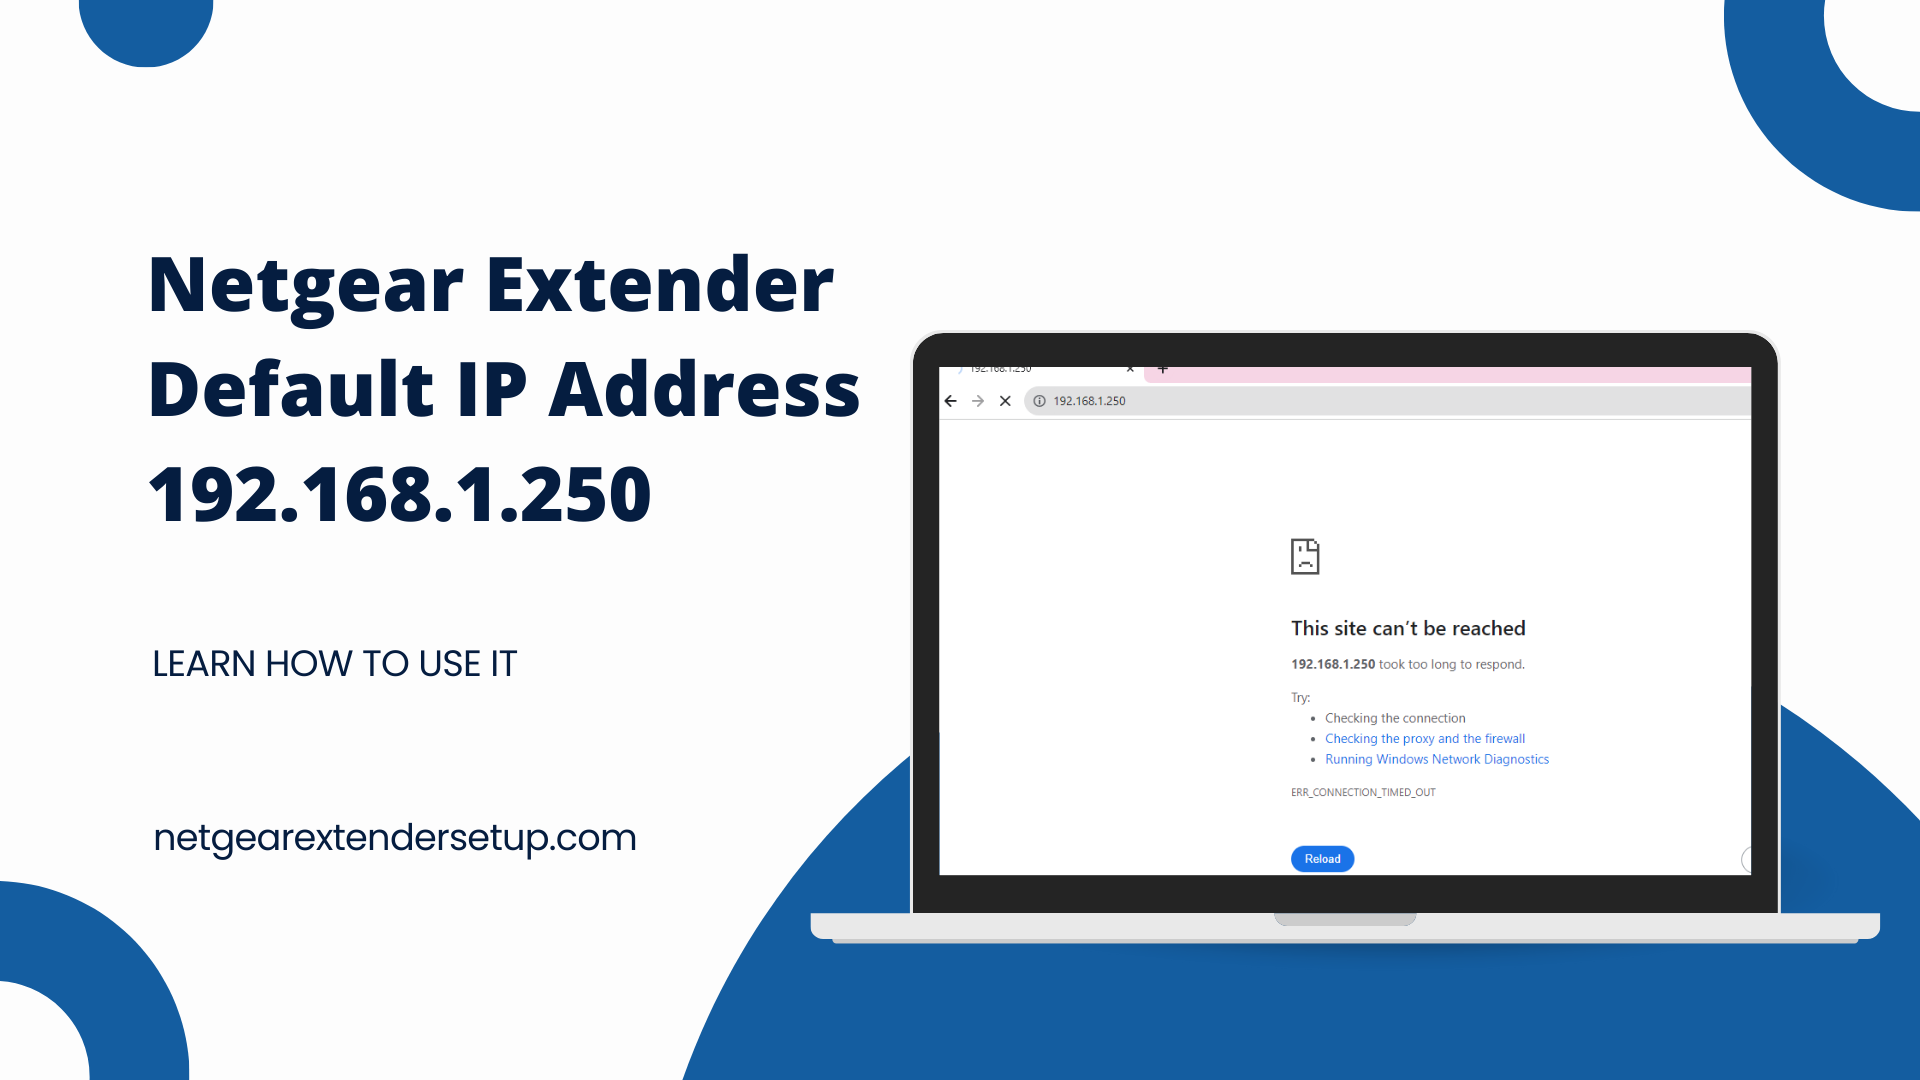
Step-by-Step Guide to Accessing Your Netgear Extender default ip address 192.168.1.250
To delve into the world of extended connectivity, start by linking your device to the extender’s network. Once connected, launch your browser and type in 192.168.1.250. This step brings you to the Netgear Extender login portal where ‘admin’ for username and ‘password‘ for password will grant you access (note: it’s advisable to change these default credentials for security purposes).
Navigating the Netgear Extender Interface
The interface of the Netgear extender is a well-organized dashboard divided into several sections:
- Home Tab: This is your control center, displaying the extender’s operational status, including the Wi-Fi network it’s extending, signal quality, and the firmware version.
- Setup Tab: Here, you can personalize settings like your network’s name (SSID) and password, crucial for network identification and security.
- Advanced Tab: This section is the hub for intricate settings such as configuring the DHCP server, adjusting firewall protocols, and setting up a guest network.
Optimizing Your Network with the Extender
The Netgear extender is not just about extending range; it’s about optimizing your network. Key tasks include:
- Renaming Network and Updating Password: A straightforward process under the Netgear extender Setup tab, ensuring your network remains identifiable and secure.
- DHCP Configuration: Found under the Advanced tab, this setting allows for effective management of Default IP Address 192.168.1.250 within your network.
- Firewall Settings: Also under Advanced, this feature provides an additional layer of security against unwanted traffic.
- Guest Network Establishment: Ideal for visitors, allowing them access to the internet without compromising your network’s security.
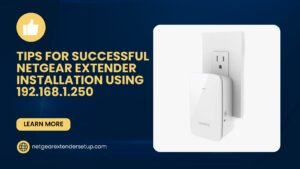
Troubleshooting tips for default ip address 192.168.1.250 Common Issues
If you encounter hiccups with your extender, consider these steps:
- Restart the Extender: Often, a reboot can resolve minor glitches.
- Firmware Updates: Regular updates from Netgear’s website can enhance performance and security.
- Factory Reset: As a last resort, resetting the extender can resolve persistent issues, though it will erase all custom settings.
Also Read: Netgear genie smart setup
Frequently Asked Questions
A: The standard IP for most Netgear extenders is 192.168.1.250.
A: First, connect to the extender’s Wi-Fi. Then, launch a web browser, type in 192.168.1.250, and log in using the default username ‘admin’ and password ‘password’.
A: After logging into the web interface, navigate to the ‘Setup’ section, select ‘Wi-Fi Settings’, input your new network details, and confirm by saving your changes.
A: Log into the interface, proceed to the ‘Advanced’ area, select the ‘DHCP Server’ option, input your preferred settings, and apply these changes by saving them.
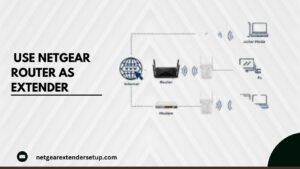
Enhancing Wi-Fi Signal with the Extender
A Netgear extender is not just about expanding your Wi-Fi’s reach; it’s about enhancing its quality. To optimize your signal:
- Connect to the extender’s network.
- Enter 192.168.1.250 in your browser.
- Log in and navigate to the Setup tab.
- In the Wi-Fi Settings, select Universal Repeater mode, scan for networks, and connect to your chosen network.
Additional Wi-Fi Signal Improvement Tips
- Router Placement: Central and clear of metal objects and appliances.
- Firmware Updates: Keep your router’s software current.
- Wi-Fi Interference: Be mindful of devices that could disrupt your signal.
- Mesh Network with Multiple Extenders: For larger spaces, consider a mesh setup for seamless coverage.
Conclusion
By understanding and utilizing the Netgear extender‘s web interface, and following these additional tips, you can significantly enhance your Wi-Fi’s reach and reliability, ensuring a robust and secure network throughout your space.