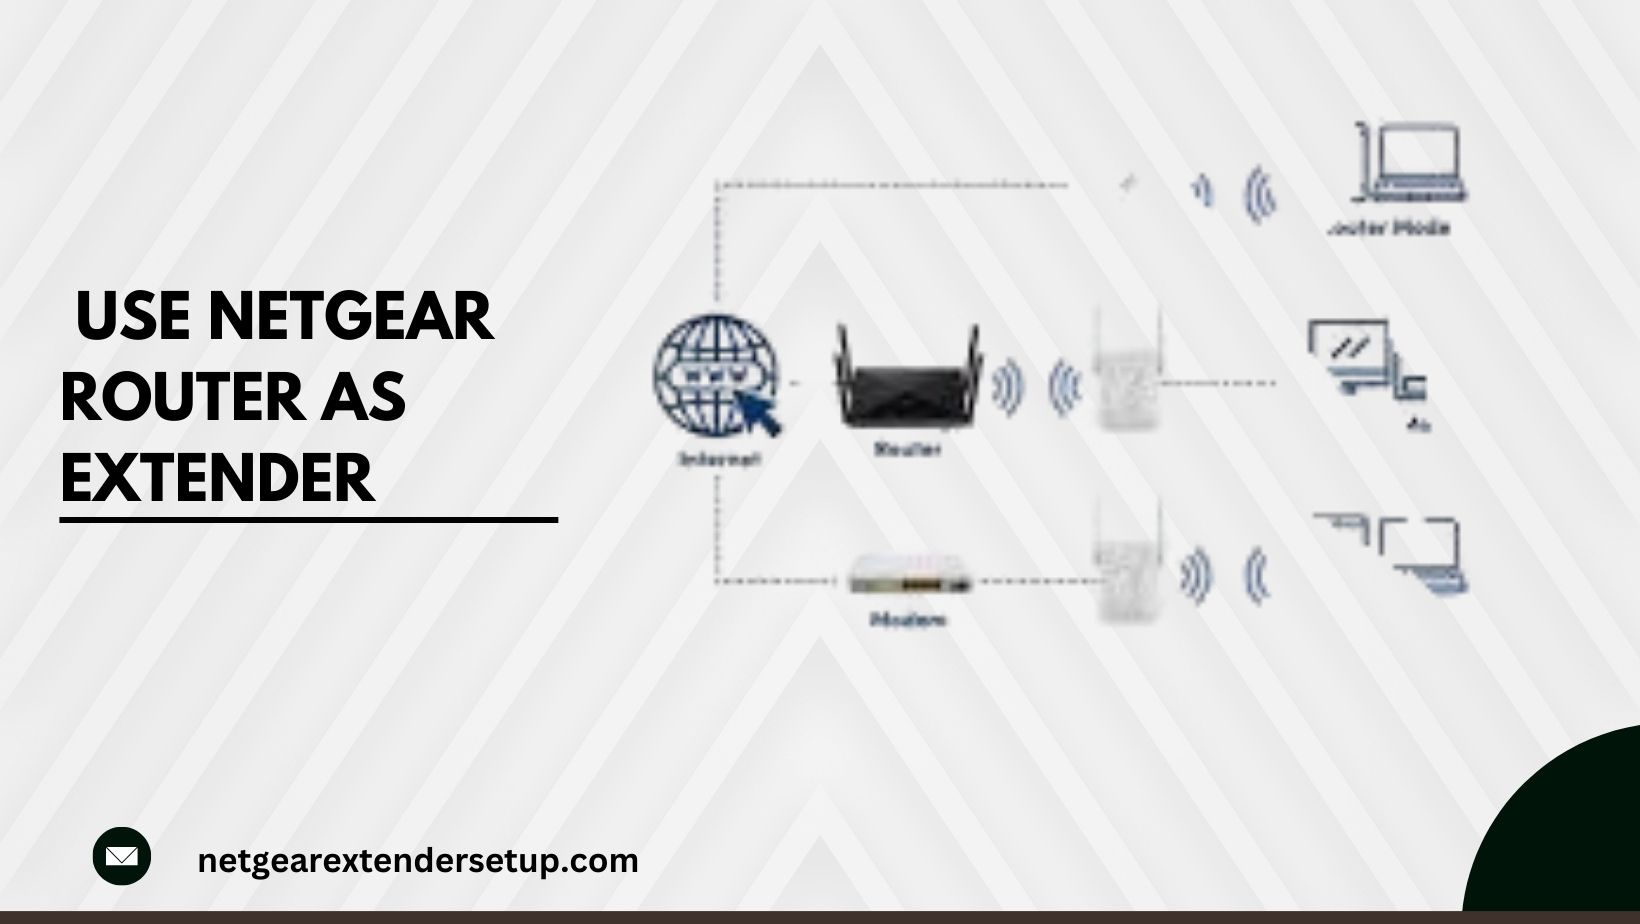
Dealing with Wi-Fi dead zones and weak signals? Use Netgear router as extender could be the perfect remedy. This detailed guide will lead you through the process, offering straightforward instructions to enhance your Wi-Fi network coverage. Let’s dive into the specifics.Let’s delve into the details.
Understanding Router Modes: Router vs. Access Point Mode
Before delving into the setup, it’s essential to understand the difference between Router Mode and Access Point Mode. In Router Mode, your Netgear device operates as a typical router, providing access to all its features. On the other hand, Access Point Mode transforms the router into a gateway for external devices to join, extending your existing Wi-Fi coverage. However, it’s worth noting that some features are disabled in Access Point Mode.
Disabled Features in Access Point Mode:
– Guest Network
– Remote Management
– Port Forwarding
– Port Triggering
– Access Control
– VPN Service
– Netgear Armor
– Parental Controls
– Traffic Meter
– Block Sites
– LAN Setup
– WAN Setup
– Internet Setup
– UPnP
– IPv6
Now that we’ve clarified the modes, let’s proceed with the step-by-step guide on how to use Netgear router as extender.
Step 1: Access an Updated Internet Browser
Start by launching a web browser on your device. Make sure the browser is current and free from an overload of browsing history, cookies, and cache.
Step 2: Enter the Default Web or IP Address
Navigate to the router’s default web address (e.g., routerlogin.net) or use its default IP address (192.168.1.250) . Refer to your router’s manual for the specific IP address if needed.
Step 3: Enter the username and password
Enter the admin credentials when prompted. Be cautious with case sensitivity, and avoid mixing up the username and password fields.
Step 4: Shift from Router Mode to AP Mode
Once logged in, locate the BASIC Home screen and proceed to the advanced section. Depending on your router model, the path may vary (e.g., Advanced Setup > Wireless AP or Settings > Setup > Wireless AP for gaming routers). Select Access Point Mode and click Apply.
Ensure your laptop is adequately charged during this process to avoid interruptions.
Summing Up
Congratulations! You’ve successfully use Netgear router as extender. This step-by-step guide was designed to streamline the process, and we trust it has enabled you to improve your Wi-Fi network coverage.
For additional informative articles on related subjects, we encourage you to frequent our website. Each visit ensures fresh content to satisfy your curiosity and keep your tech-savvy mind stimulated.Now, enjoy the expanded range of your Wi-Fi network!
Read More:Connecting WiFi Extender to Starlink Router
FAQs
– While many routers support extender mode, it’s essential to check your specific model’s compatibility. Refer to the user manual or the router’s official website for guidance.
– Access Point Mode disables features such as Guest Network, Remote Management, Port Forwarding, and more. Consider your needs before switching modes.
– Regularly check for firmware updates, at least once every few months, to ensure optimal performance and security.
– No, different router models may have different default IP addresses. Consult your router’s manual to confirm the correct IP address.
– Yes, you can revert your router to its original settings by accessing the admin panel and choosing the default configuration option.