Wireless extenders derive their input signals from a host router or modem. The fundamental role of a wireless range extender is to capture WiFi signals from the primary router and extend their reach beyond the router’s standard range. If specific areas within your home suffer from inadequate WiFi coverage within the router’s scope, obtaining a WiFi extender is a viable solution. Establishing a connection between the extender and the router effectively eradicates WiFi dead zones.
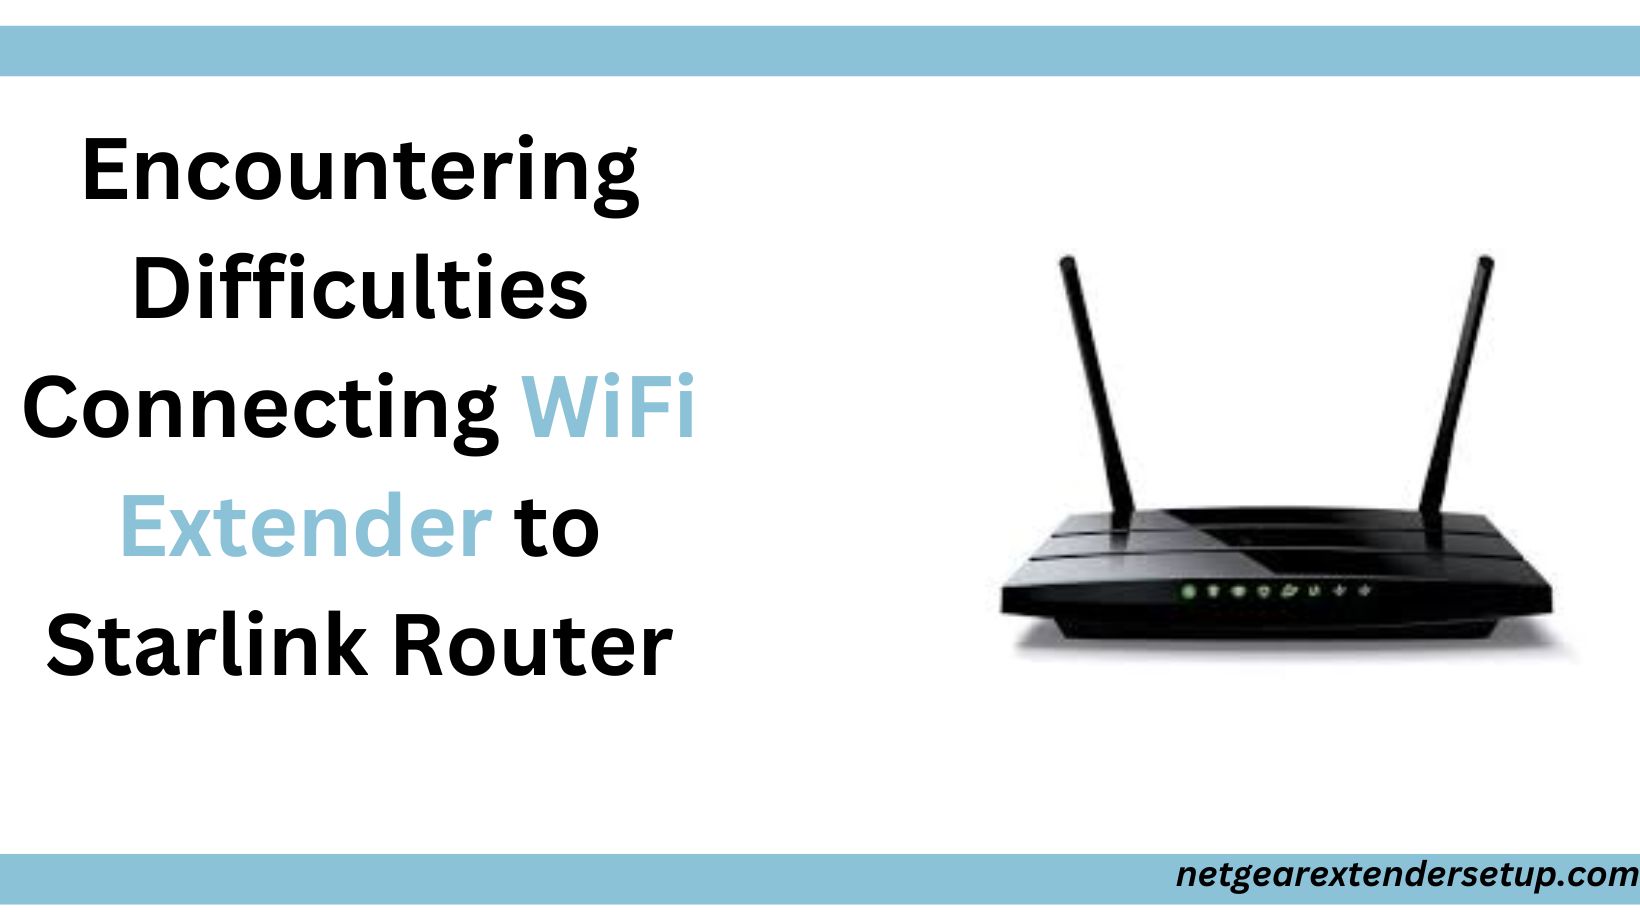
Encountering difficulties in linking a Netgear WiFi extender to a Starlink router? You’ve come to the correct page, where we explore crucial solutions to tackle the connection issues between the extender and the router.
Establishing a Connection Between a WiFi Extender and a Starlink Router: A Comprehensive Guide
Commonly, users face connectivity challenges between their Netgear WiFi extender and the host router, often due to incorrectly executed procedural steps. To avoid potential issues in your scenario, it is crucial to follow the correct steps outlined below.
1. Place the Netgear WiFi extender in close proximity to the Starlink router, ensuring it remains within the router’s effective range.
2. Use a LAN cable to establish a connection, connecting the LAN port on the router to the Internet port on the extender. Alternatively, set up a wireless connection.
3. Initiate the power sequence by plugging in and turning on the router first, followed by the extender. Adhering to this sequence minimizes the likelihood of encountering issues during the connection process.
4. Connect your phone or PC to the extender’s network using the default SSID, Netgear_ext.
5. Open an up-to-date internet browser and type “mywifiext.net” in the address bar.
6. Follow the on-screen prompts to seamlessly complete the connection and proceed with the Netgear extender setup.
Addressing Connectivity Issues Between WiFi Extender and Host Router
If, despite following the correct steps, the connection fails to establish, it’s necessary to attempt the solutions outlined in this section.
Establish a Secure LAN Connection
The likelihood of encountering connectivity issues between the extender and Starlink router is higher when utilizing a damaged LAN cable. Inspect the cable for any signs of damage, ensuring it is properly inserted into the designated ports as mentioned above. Temporarily disconnect the cable, cleanse the ports with a soft brush, and then securely reconnect.
Ensure Adequate Power Supply
Incomplete device boot-up can result from a poor power connection, leading to frequent disconnections. Thoroughly examine the power cable and sockets in use. Make necessary adjustments to ensure a stable power supply for both devices – the Netgear extender and Starlink router.
Verify WiFi Credentials Accuracy
During the extender configuration process, when prompted to enter the router’s WiFi details, ensure accurate input. Confirm that the correct credentials are entered to successfully connect the WiFi extender to the Starlink router.
Update Your Router Firmware
Mismatched firmware versions between the devices may impede successful connection. Initiate a router update by logging into your router; each device has an assigned IP for login purposes. Some routers use 10.0.0.1 as the IP, while the default IP for a Starlink router is 192.168.1.1.
Perform a Power Cycle on the Network
Give your home network a fresh start by conducting a power cycle. Power down all devices on the network, including the Netgear extender, Starlink router, and the device used for setup. After a 5-minute interval, power on the router, wait for 2 minutes, then turn on the extender, followed by the device after another 2 minutes. Once all devices are fully powered up, attempt to connect the Netgear WiFi extender to the host router.
Closing Thoughts
The solutions outlined in this article aim to facilitate a seamless connection between the WiFi extender and Starlink router. If issues persist, consider resetting the extender to factory defaults. It’s possible that certain configurations on the extender are hindering the connection. After the reset, attempt to connect the devices and set up the Netgear WiFi extender.
Read more: Connect WiFi Extender to New CenturyLink Router
Resolving Sonic Fiber Internet Extender
FAQs
While many extenders can work, it’s essential to verify specifications for seamless integration.
Investigate common issues like outdated firmware, incorrect passwords, or interference from other devices.
Perform regular checks for updates, ideally at least once every few months, to maintain optimal performance.
If certain areas still experience weak signals, consider repositioning the extender to improve coverage.
Resetting should be a last resort and is generally safe, but it will erase all custom settings.