If you’re faced with the daunting task of linking your WiFi extender to a new WiFi router, don’t worry. Exploring this blog post will be extremely beneficial for you. Wondering why? This article provides a comprehensive guide through the entire process of connecting a WiFi extender to a new CenturyLink router. Take a moment to glance through this blog for valuable insights and useful tips to navigate any potential connectivity issues effortlessly.
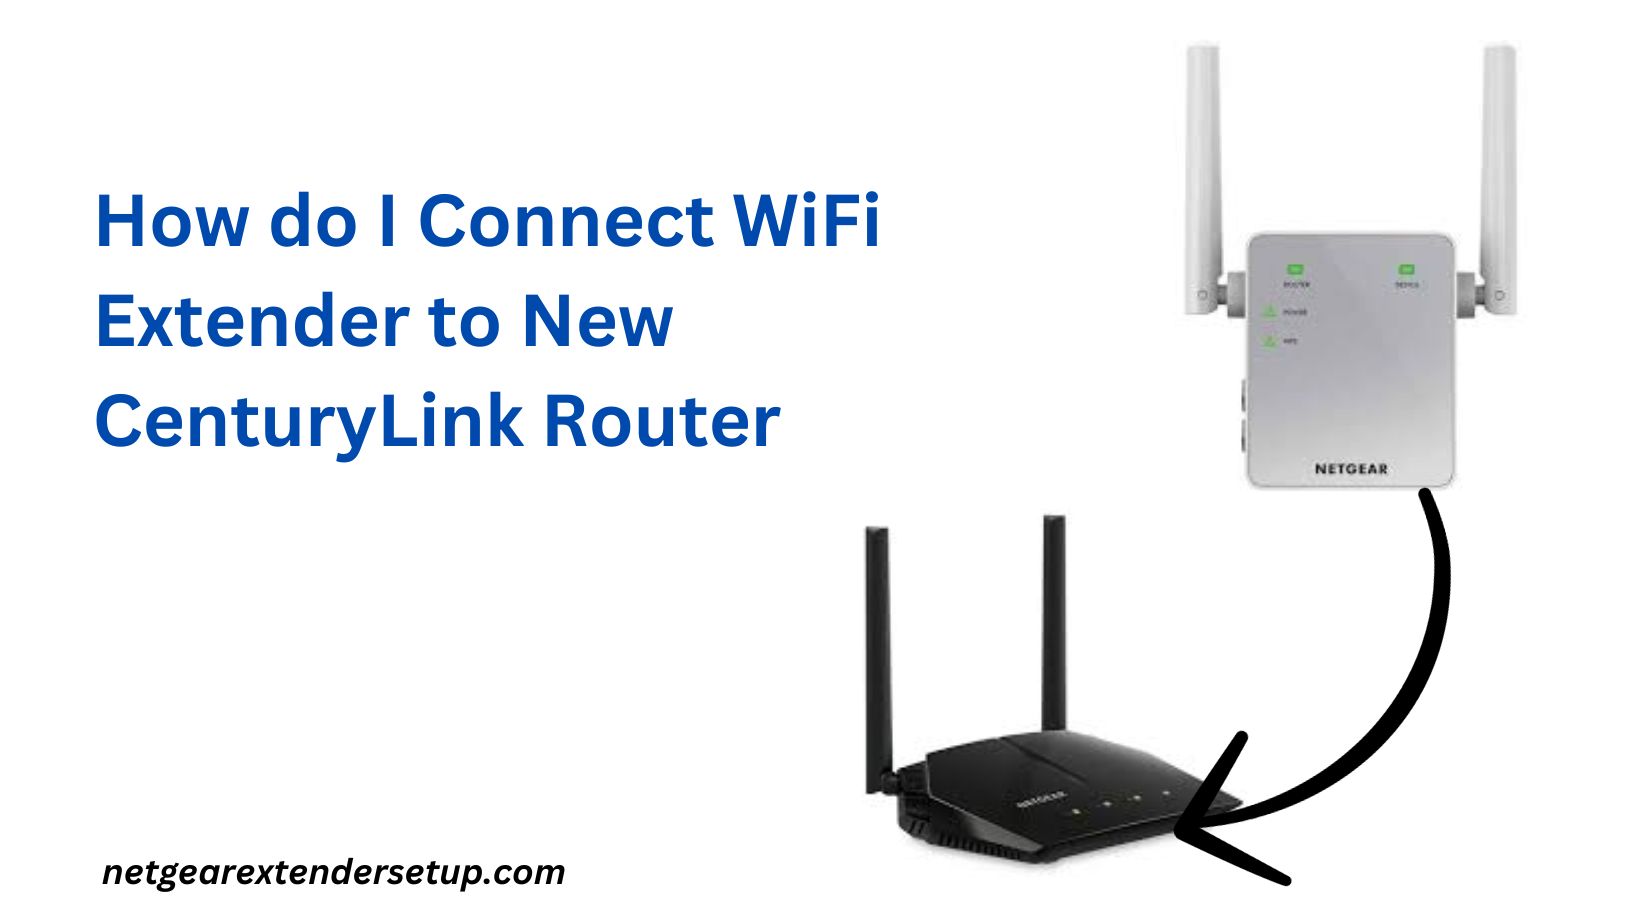
Connecting the WiFi Extender to Your New CenturyLink Router
You’ve upgraded to a new CenturyLink router and are attempting to link it with your extender. Facing difficulty in establishing the connection? The reason might be that your extender is not prepared for this association. Wondering what this implies?
Previously, a different router was linked to your Netgear WiFi extender, and it retains the configurations of that previous router.To initiate a connection with the new router, you must first eliminate these existing settings. The solution? Reset your WiFi extender. Perform a reset to clear the previous configurations and make it ready for the new router connection.
How to Reset a Netgear WiFi Extender?
- Executing a reset is an uncomplicated procedure that reverts the extender to its original factory settings, erasing the current configuration. Follow the steps provided below to commence a reset on your Netgear WiFi extender:
- Unplug any cables attached to the Netgear WiFi extender, leaving only the power cable connected.
- Ensure the extender is adequately powered and connected to a functional power socket.
- Locate the Reset button on your extender, typically found inside a labeled hole marked as Reset or Factory Reset.
- Using a sharp and pointed object, press and hold the Reset button for a minimum of 10 seconds.
- The extender will undergo a reboot, restoring itself to the factory settings.
Your Netgear WiFi extender is now prepared for connection to a new CenturyLink router. Ensure you have previously configured the router with the internet modem or DSL gateway.
Setting Up Netgear Extender with CenturyLink Router
- Place the Netgear WiFi extender and the WiFi router close to each other.
- Utilize a LAN cable to connect the Internet port of the extender to the LAN port of the router.
- Before powering on the extender, make sure the router is plugged in and turned on, following this sequence to prevent any potential issues.
- Subsequently, connect your laptop, computer, or phone to the extender’s network. You can accomplish this by either using a LAN cable for your PC or connecting your device to the extender’s WiFi network using the default SSID Netgear_Ext.
- Open a web browser, and the Netgear extender setup page will automatically appear.
- If the setup page doesn’t open spontaneously, access it manually using either mywifiext.net or 192.168.1.250.
- Follow the setup instructions displayed on the screen diligently. When prompted, select the SSID of your CenturyLink router to establish a connection between the extender and the router.
Congratulations! You’ve successfully configured your Netgear extender with a new CenturyLink router, ensuring a successful connection between these two devices.
Relocate the Extender
Move your Netgear WiFi extender to a different spot, selecting a location where you intend to expand the coverage of the router. Ensure it remains within the network range of the router.
Verify for Firmware Updates
Ensure you check for firmware updates on both your Netgear extender and CenturyLink router. Access each device by inputting their respective IP addresses and proceed to update them to the latest firmware version. The CenturyLink router commonly has a default IP of 192.168.0.1, but it’s important to note that it might be altered to prevent conflicts, especially if devices share the same IP. If the default IP proves ineffective, verify the assigned IP address for your router; it could be an alternative like 10.0.0.1. Sign in to the dashboard using the admin login details for 10.0.0.1 and commence the firmware update process for the router.
Revise Passwords
As you proceed with the Netgear extender setup, you’ll be prompted to change the admin and WiFi passwords. If you haven’t adjusted them during the initial setup, it’s recommended to update the passwords at this point. This precaution is crucial for boosting the security of your network, ensuring its uniqueness.
Conclusion
Congratulations! You’ve successfully connected your WiFi extender to your new CenturyLink router, unlocking a world of improved connectivity. Embrace the seamless experience and bid farewell to WiFi dead zones. Remember, a well-connected home or office is a happier, more productive space.
Read more: Netgear WiFi Extender Slow
Fix the Internet Connection Issues
FAQs
While numerous extenders may work, we recommend verifying specific CenturyLink compatibility for optimal performance.
Review the settings and confirm the extender’s firmware is current.If issues persist, please refer to our troubleshooting section or contact CenturyLink support for further assistance.
Implementing security measures on your extender minimizes risks. Follow our guide to secure your extended network effectively.
Yes, experimenting with different positions can optimize coverage. Test various locations and monitor signal strength for the best results.
Most users can successfully set up their extenders following our guide. However, if you encounter difficulties, professional installation is always an option.