In this era dominated by digital advancements, a dependable and resilient internet connection is paramount. If you’ve encountered signal challenges and dead zones, fear not! Our all-encompassing guide is here to guide you through the Netgear WiFi Extender Setup WPS process, guaranteeing a more potent and stable connection.
Understanding the Basics
What is Netgear WiFi Extender Setup WPS?
Netgear WiFi Extender Setup WPS presents a simple approach to broaden the reach of your wireless network. WPS, or Wi-Fi Protected Setup, streamlines the configuration process, ensuring it remains user-friendly, even for those less acquainted with technology intricacies.
The Significance of WPS
WPS ensures a secure connection, allowing you to amplify your WiFi signal without compromising on safety. This method streamlines the setup, minimizing the hassle of dealing with complex configurations.
Guide to Netgear WiFi Extender Setup WPS in Six Simple Steps
1. Essential Gathering: Before commencing the setup, ensure you have your Netgear WiFi extender, a power source, and a device equipped with an internet browser.
2. Compatibility Check: Confirm that your router supports WPS. Refer to your router’s manual or visit the manufacturer’s website for validation.
3. Powering Up the Extender: Plug in your Netgear WiFi extender and patiently wait for the power LED to transition to a solid green.
4. Network Connection: Access the WiFi settings on your device and connect to the Netgear_ext network.
5. Browser Launch: Open your preferred internet browser and input ‘mywifiext.net’ in the address bar.
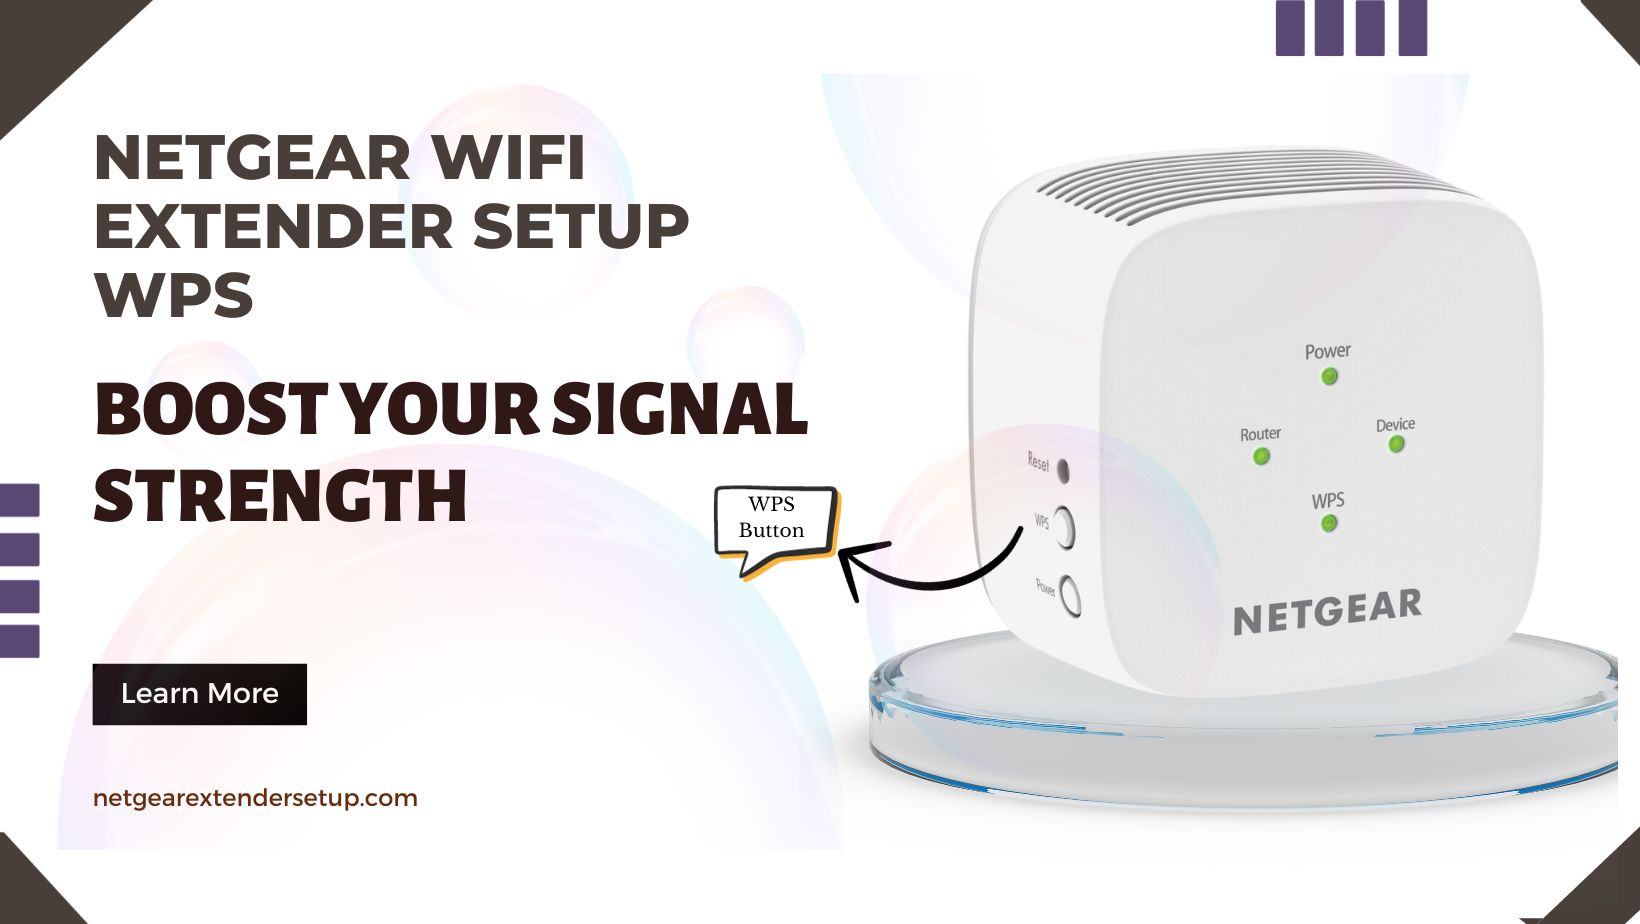
6. Netgear WiFi Extender Setup WPS: Navigate to the ‘Wireless Settings’ section and select ‘WPS.’ Follow the on-screen instructions diligently to conclude the setup process.
Optimizing Performance
➤ Strategic Placement
Place your extender strategically to optimize coverage. Steer clear of obstacles and interference from other electronic devices.
➤ Routine Maintenance
Regularly inspect for firmware updates to ensure your extender is outfitted with the latest enhancements for peak performance.
Read More: Extender Not Working After Netgear Firmware Update
FAQs
To reset your extender, locate the reset button (usually at the back), press and hold it for 10 seconds, and wait for the device to reboot.
If your router lacks WPS functionality, you can still set up your Netgear WiFi extender manually. Refer to the user manual for detailed instructions.
Ensure that your router supports WPS, and both devices are in close proximity during the setup. If issues persist, consider manual configuration.
Absolutely! Netgear offers comprehensive customer support. Reach out to their helpline or visit their online support portal for assistance.
Yes, you can connect multiple extenders using WPS. Simply repeat the process for each device, ensuring they are within range of your router.
Yes, keeping your extender’s firmware up to date is crucial for optimal performance and security. Check for updates regularly on Netgear’s official website.
Conclusion
Revolutionize your internet experience with a seamless Netgear WiFi Extender Setup WPS. By following our detailed guide and incorporating the provided tips, you’ll bid farewell to signal issues and relish a robust, extended network coverage.