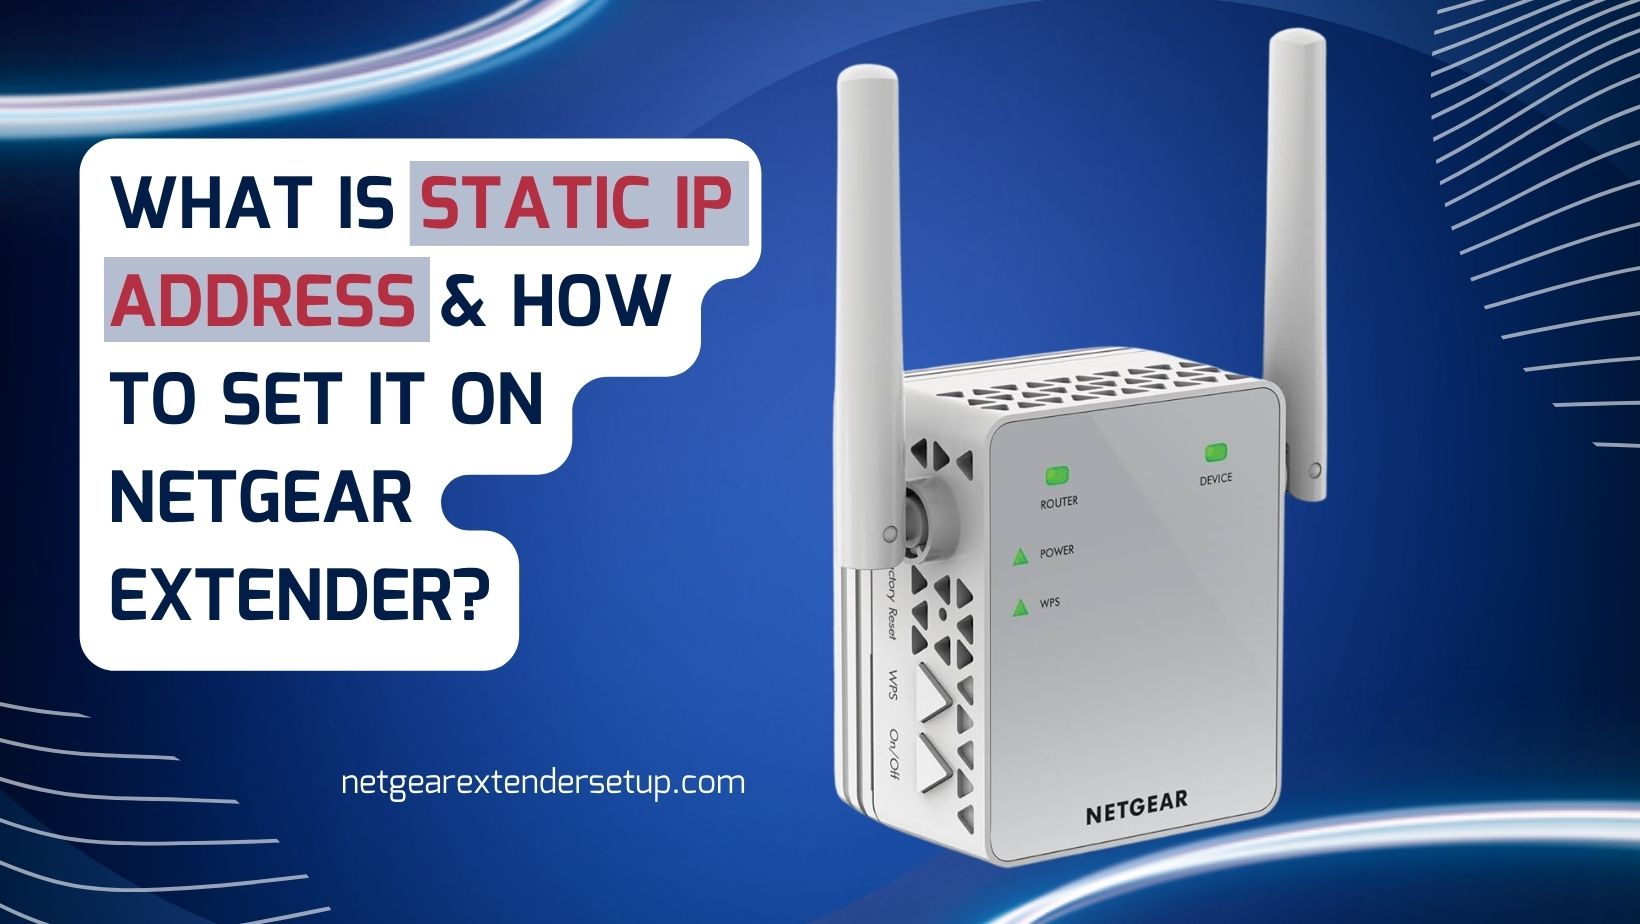
Static IP address Setup on your netgear extender you can make many devices without any hustle. If you also want to know what a static IP address actually is and how to set it in Netgear WiFi range Extender, then you have come to the right post. In this Content, we’re diving into the world of Static IP addresses and showing you how to set it up on your Netgear Extender. Say goodbye to connection issues and hello to a smoother, more stable network experience. Stick around, and let’s get your Netgear Extender optimized!
Understanding Static IP addresses is crucial for a seamless network experience. Unlike dynamic IPs, which change periodically, a Static IP remains constant. Today, we’re focusing on configuring this on your Netgear Extender Setup, ensuring a stable and reliable connection. Let’s go through the steps together.
Table:
Introduction to Static IP Address
Before we delve into the setup process, let’s briefly discuss what a Static IP is and why it matters for your Netgear Extender. A Static IP provides a fixed address to your device, making it easier to manage and locate on the network. This can enhance security, improve connectivity, and even facilitate smoother online gaming or streaming experiences.
Accessing Netgear Extender Settings
To configure a Static IP, we need to access the settings of your Netgear Extender. Open your web browser and enter the default gateway or IP address provided by your extender. This usually looks something like ‘192.168.1.1.’ Once you’re logged in, navigate to the settings page.
Locating the IP Address Settings
Now that we’re in the settings, let’s locate the IP Address settings. This might vary slightly depending on your Netgear Extender model. Look for ‘LAN Setup’ or ‘Internet Setup.’ Here, you’ll find the option to set a Static IP Address.
Assigning the Static IP
Time to assign that Static IP! Choose the device you want to set a Static IP for and enter the desired address. Be sure it’s within the range specified by your router. Save the changes, and voila – you’ve just given your device a permanent spot on the network.
Testing the Connection
Before we wrap up, it’s essential to test the connection. Ensure that your device is now using the Static IP Address. Go online, stream a video, or play a game – feel the difference? A stable and consistent connection can make a world of a change.
Simple Setup Guide | Static IP Address on Netgear Extender
Whether you own a Netgear EX2700 setup box or the EX1900 extender model, the process of setting a static IP address on a Netgear extender remains consistent.
By default, a Netgear WiFi range extender acquires an IP address via DHCP. However, setting a static IP on the extender proves highly beneficial, especially when facilitating network manager access to your device seamlessly post-extender installation. Achieving this involves setting a static IP on your Netgear extender.
Here’s a step-by-step guide:
- Plug your extender into a wall socket and power it on.
- Wait for the LED lights on your extender to turn green.
- Using an Ethernet cable, connect your extender to the pre-configured router.
- Connect your device to the extender’s network, i.e., Netgear_ext.
- Open a web browser on your computer and navigate to the address bar.
- Enter mywifiext.net into the address bar and press Enter.
- You’ll land on Netgear extender login page.
- When prompted, enter your login details and click Log In.
- Completion of this step will lead you to the Netgear Genie setup wizard.
- Go to Settings and select the IP address option.
- Under the Device’s IP Address option, choose ‘Use Static IP address.’
- You can now set a static IP address for your Netgear WiFi range extender.
- Once configured, click the Apply button to implement the changes.
- Following these steps ensures a hassle-free setup of a static IP address on your Netgear extender, enhancing the accessibility and control of your network manager.
Additional Advice: Occasionally, users may face difficulty achieving successful login to their Netgear extender due to the mywifiext.net not functioning. If you encounter the same issue, attempt to access your extender’s login page using either mywifiext.local or the default IP address.
You can also learn about Netgear Extender Installation Using 192.168.1.250
FAQs
Your Queries Answered – Frequently Asked Questions about “What is Static IP Address & How to Configure It on Netgear Extender?“
Static IP is fixed and doesn’t change, while dynamic IP can change periodically.
Yes, you can assign a static IP to devices connected to a Netgear Extender.
There can be security concerns with static IP if not configured properly, but it offers some advantages too.
Incorrect static IP configuration can lead to network issues, connectivity problems, and security vulnerabilities.
Yes, you can switch back to a dynamic IP if needed, providing flexibility in network configuration.