This guide provides a comprehensive overview of the Netgear WAX202 Setup process. If you’re reading this blog post, it indicates your quest for information on executing the Netgear access point setup. Follow the instructions below for a smooth and trouble-free experience.
Netgear WAX202 Setup Process: Step by Step
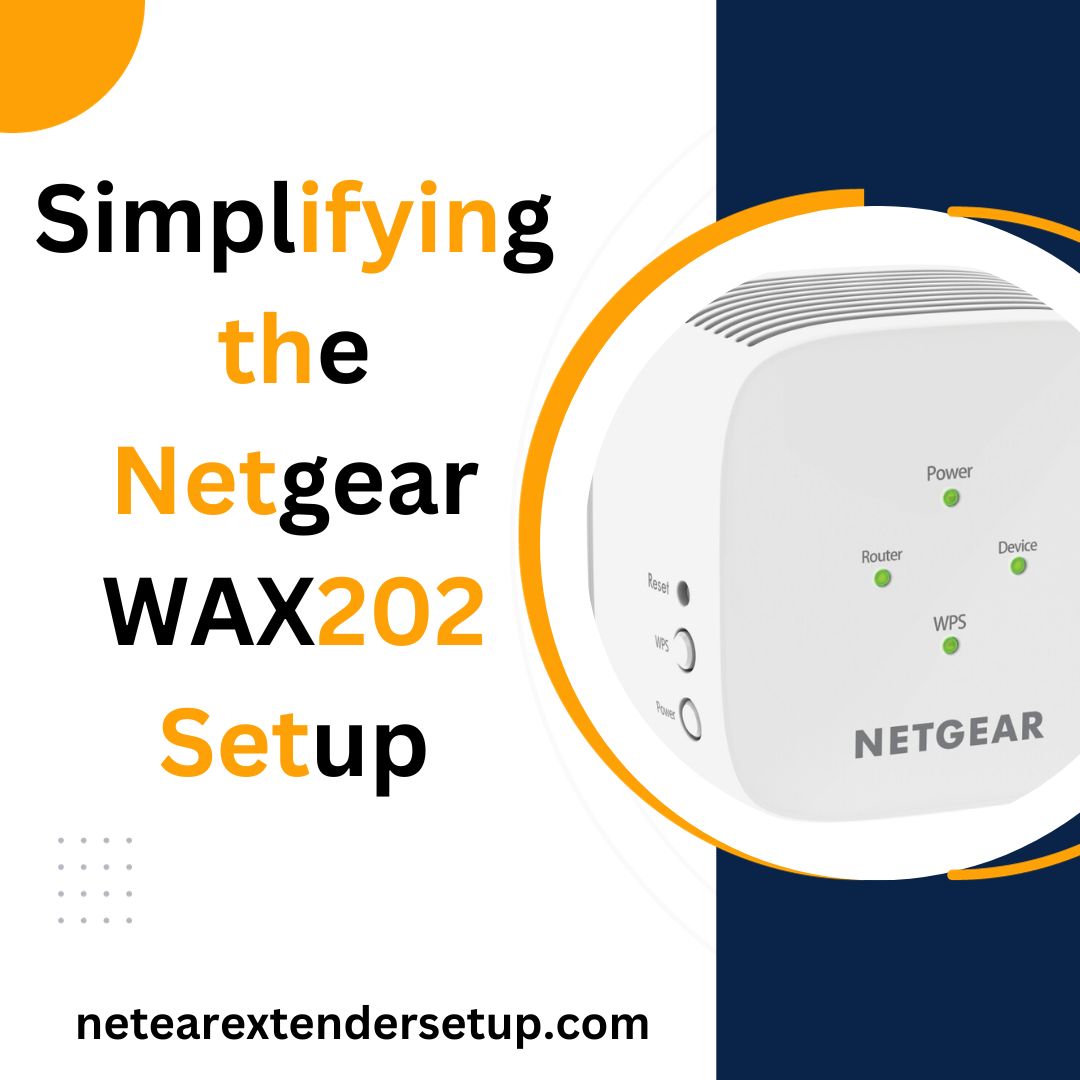
1. Unbox the Netgear WAX202
Begin by delicately unpacking the Netgear WAX202 WiFi access point, along with its accompanying accessories such as the DC power adapter, Ethernet cable, and installation guide. Exercise caution to handle the contents with care, minimizing the risk of damage. This meticulous approach not only contributes to a successful setup but also helps prevent potential technical issues in the future.
2. Connect the Netgear WAX202
Disconnect the broadband router, DSL device, and cable, leaving the device connected to the internet wall jack. If the device has a battery, remove it. Connect one end of the Ethernet cable to the yellow WAN port on the WAX202 and the other end to the LAN port of the DSL device. If the DSL device has a battery backup, reinsert the battery. Power on both devices, ensuring all lights on the WAX202 become solid.
3. Plug in the Ethernet Cable
Connect one end of the Ethernet cable to the yellow WAN port on the WAX202 and the other end to the LAN port of the DSL device (broadband). If the DSL device uses a battery backup, reinsert the battery. Power on both devices, ensuring all lights on the WAX202 become solid.
4. Join the WAX202 WiFi Network
Enable WiFi on your laptop and scan for available networks. Locate and connect to the WAX202 network, entering the provided WiFi name and password found on the AP label.
5. Log in to the WAX202 Access
The Netgear WAX202 Setup Wizard will launch automatically. Choose either Access Point Mode or Router Mode, set a new admin password, and configure security questions. Set up a new network name (SSID) and password. Check for firmware updates and follow on-screen prompts to complete the update. Allow WAX202 to reboot without closing your browser window.
Post-Setup Troubleshooting:
If you encounter technical issues post-setup, locate the Reset hole on the WAX202 and press the reset button using a paperclip for 10 seconds. The LED light will blink amber, indicating a factory reset. Wait for the AP to reboot, a process taking approximately 2 minutes.
In case the reset process is challenging, consider restoring the device manually by referring to the provided manual.
Conclusion:
This wraps up the discussion on the Netgear WAX202 setup process. Follow the provided instructions, and hopefully, you’ll complete the configuration successfully. For future knowledge exploration, bookmark this website, as it regularly offers new topics for learning.
Read More: Spy on Devices Connected to My WiFi Extender
WiFi Extender Cannot Connect to Dual Band Router
FAQS:
The Netgear WAX202 setup process generally requires approximately 20-30 minutes. However, the specific duration may vary for each individual setup.
In the event of forgetting the admin password, identify the Reset hole on the WAX202, press the reset button, and proceed with the necessary steps to initiate a configuration reset.
Yes, regularly checking for and installing firmware updates is crucial to ensure optimal performance and security for your WAX202.
Yes, the WAX202 is designed to support multiple devices simultaneously, providing a robust WiFi solution for your network.
Certainly! After the initial setup, you can access the WAX202 settings to modify the network name and password.