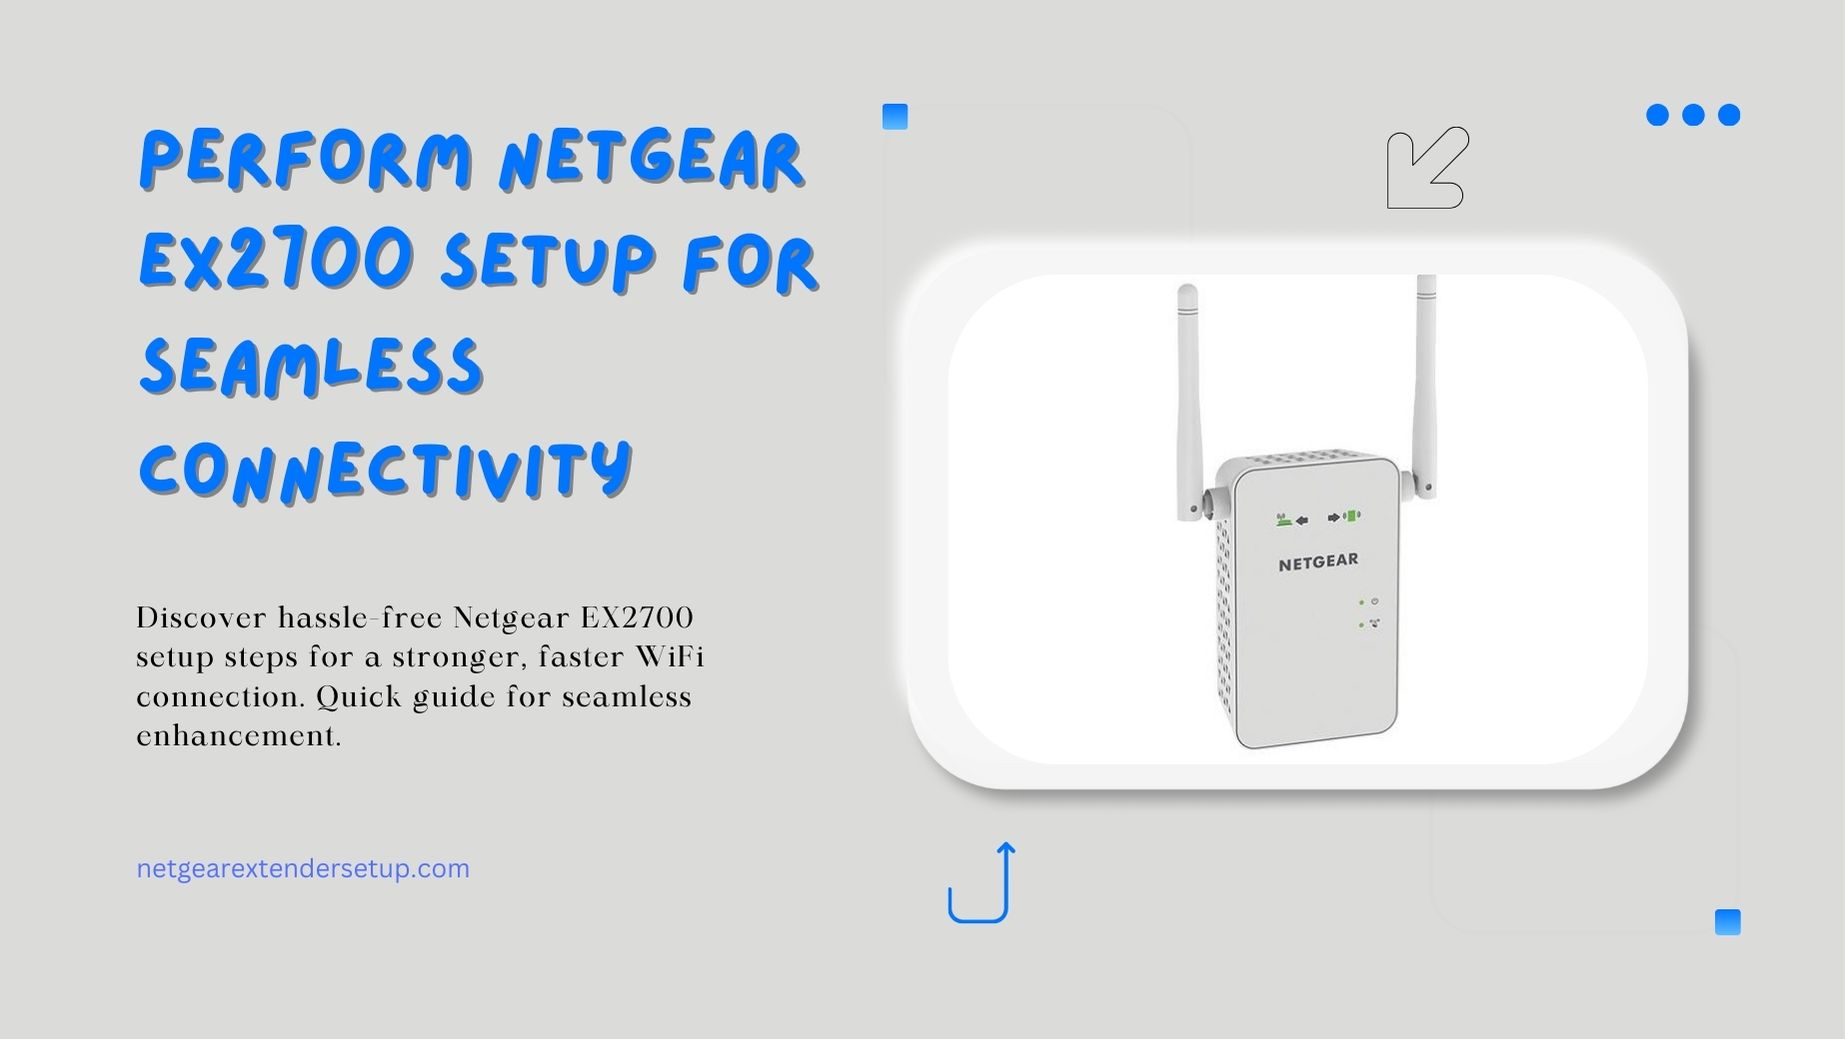
Are you tired of being confined to a single room for internet access? Picture the liberation of moving seamlessly around your home without sacrificing your connection. Fortunately, you can attain this freedom by perform Netgear EX2700 setup. Whether you’re in the living room, kitchen, or bedroom, the setup ensures a consistent and robust wireless network, allowing you to enjoy uninterrupted connectivity throughout your entire living space. Say goodbye to limitations and embrace the flexibility of a well-connected home with the effortless Netgear EX2700 setup.
Unleashing Wireless Freedom
Setting up an EX2700 extender guarantees comprehensive coverage, enveloping every nook and cranny of your home. Say farewell to confinement in a single room – now relish seamless internet access throughout your entire living space. Let’s delve into the setup process with a variety of methods, ensuring flexibility and convenience.
Netgear EX2700 Setup: WPS Method
The WiFi-Protected Setup (WPS) is a widely used method for setting up extenders. Therefore, follow these steps for a seamless Netgear EX2700 WiFi extender setup
- Connect EX2700 extender to your home router.
- Utilize a cable to establish a connection between both WiFi devices.
- Power on your Netgear WiFi extender.
- Locate and press the WPS button, waiting for about 60 seconds.
- Once the LED turns green, rejoice – your device is successfully set up.
- Now, relocate your Netgear EX2700 extender to any corner of your house.
Congratulations, you’ve successfully set up your Netgear EX2700 extender using the WPS button. Now, let’s delve into the Manual Method.
Netgear EX2700 Setup: Manual Method
To manually connect your Netgear extender to the existing wireless network, follow these steps:
- Power on the WiFi extender and connect to Netgear_Ext.
- Open a browser on your computer and type mywifiext.net or mywifiext.local (for Apple or iOS devices).
- Enter the default Netgear extender login credentials provided in the manual.
- Follow the Netgear Genie Setup wizard instructions precisely.
Remember, the key to successfully performing Netgear EX2700 setup is meticulously following the instructions in the specified order. Initially, ensure all components are connected as directed, then proceed systematically through each setup step. Consequently, this methodical approach guarantees a seamless and trouble-free installation experience.
Troubleshooting Setup Issues
However, encountering technical glitches can be frustrating during setup. Nevertheless, worry not! Here are quick solutions to common Troubleshooting Setup Issues:
- Fully charge your Netgear extender before setup.
- Type the default web address carefully.
- Keep devices like microwaves away during setup.
- Ensure your browser is updated.
- Update your Netgear extender firmware.
- If all else fails, restore your extender to default settings.
Perform Netgear EX2700 Setup for a seamless, wireless experience today!
Also Read: Netgear EX2700 as an Access Point
Netgear WiFi Extender EX6100 Setup
FAQs
Check the LED on the extender; a green light indicates successful setup.
Yes, you can relocate it anywhere within your house for optimal coverage.
Use “mywifiext.net” or “mywifiext.local” for Apple or iOS devices.
Yes, keeping the firmware up-to-date ensures optimal performance.
Follow troubleshooting tips in the manual or contact support for assistance.