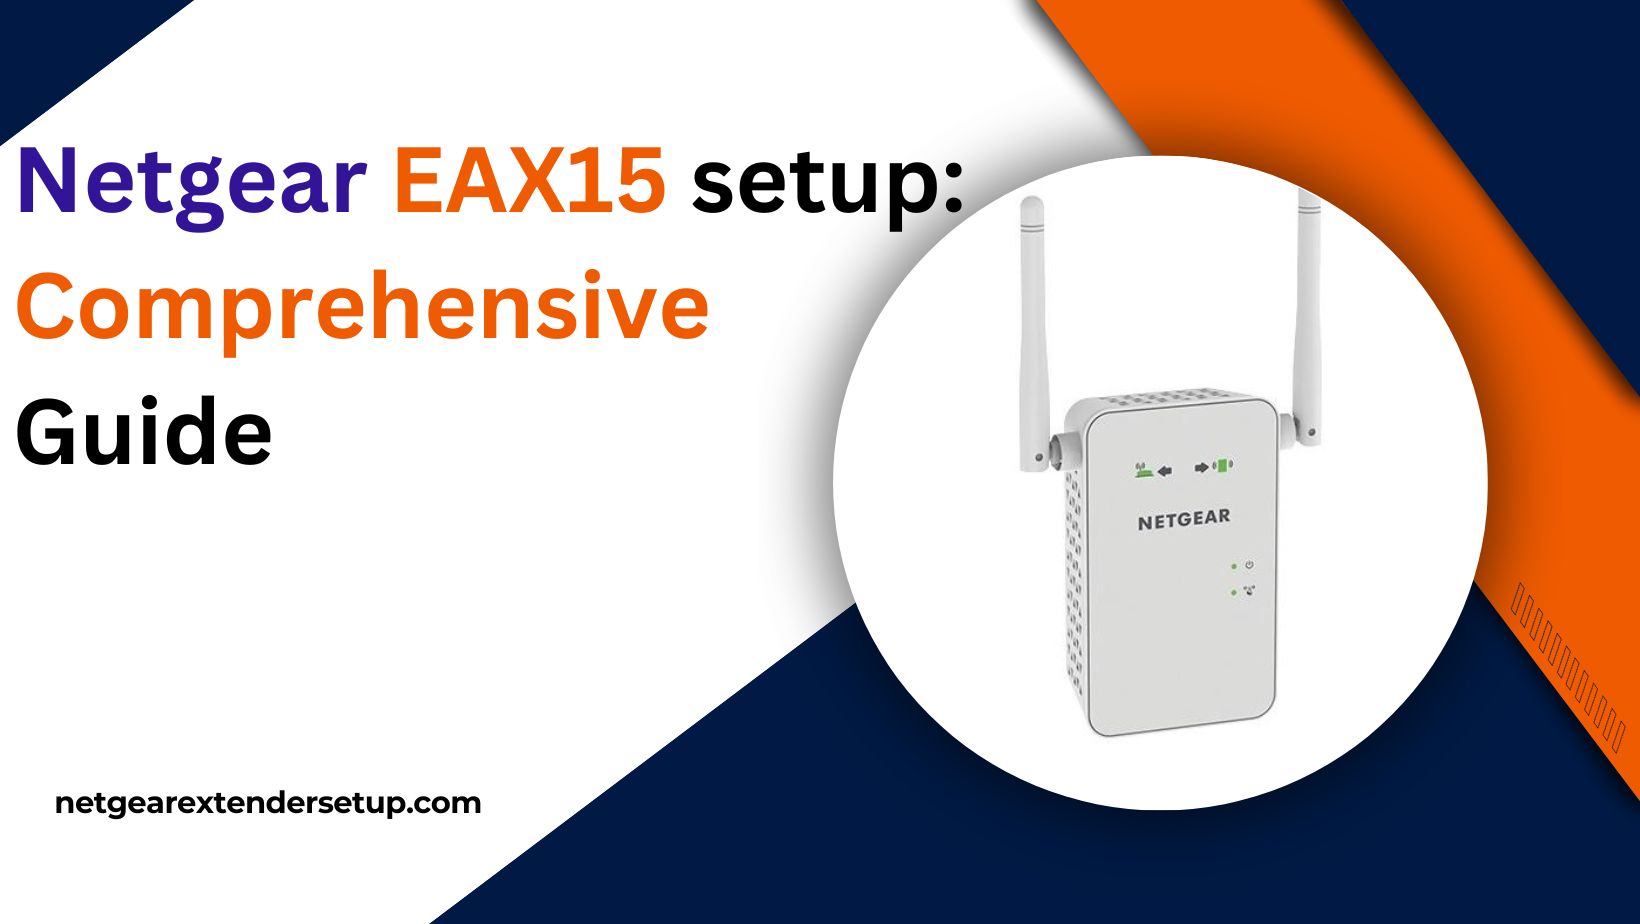
If you’re looking to enhance the coverage and speed of your Wi-Fi network, the Netgear EAX15 extender is a superb option. Offering extensive coverage for your area, it provides a network speed of up to 1.8 Gbps.Furthermore, this mesh Wi-Fi extender features four streams, preventing network congestion that could otherwise reduce speeds for multiple connected devices. This article guides you through a straightforward Netgear EAX15 setup process with clear and concise instructions.
Netgear EAX15 setup Using WPS Method:
The most straightforward method for setting up the Netgear EAX15 mesh extender involves utilizing the WPS push button on your device.
Follow this step-by-step procedure for a smooth setup:
- Plug in your Netgear EAX15 extender and ensure it is powered on.
- Locate the WPS button on the extender. It is typically on the front or side panel.
- Press the WPS button on the Netgear EAX15 and hold it for a few seconds until the WPS LED starts blinking.
- Within 2 minutes of pressing the WPS button on the extender, go to your WiFi router.
- Locate the WPS button on your router and press it within the 2-minute window.
- Allow the extender and router to establish a connection. The WPS LED on both devices should turn solid, indicating a successful connection.
- Check the status of the LED lights on the Netgear EAX15. The Power and WPS LEDs should be solid, indicating a successful setup.
- Connect your devices with Wi-Fi capability to the extended network.
Congratulations! You’ve successfully set up your Netgear EAX15 using the WPS method, providing enhanced coverage and performance for your WiFi network. If you encounter any issues, refer to the user manual or visit the Netgear support website for assistance.
How can I manually set up my Netgear EAX15 extender?
- To set up the Netgear Nighthawk EAX15 series AX1800, begin by placing the extender near your main router.
- Power on the EAX15 Mesh extender by pressing and holding the power button until the power indicator turns solid white.
- Connect your Nighthawk AX1800 to a wireless-enabled device.
- After establishing the connection to the WiFi repeater, open a web browser and go to www.myWiFiext.net.
- You will encounter a Netgear EAX15 Mesh login page where you should authenticate using the default credentials provided in your instruction manual.
- Follow the instructions on the website to proceed with the setup.
Upon completing the on-screen instructions, your Netgear EAX15 setup is successful. Now, you have the flexibility to relocate your extender to any desired location with low network coverage. If you encounter internet access issues, contact our expert technicians for prompt and accurate assistance.
Common Issues Encountered During Netgear EAX15 Extender Setup
Setting up your Netgear EAX15 extender can sometimes come with challenges. Here are some common issues users may face during the setup process:
- Ensure the extender is properly plugged in and powered on.
- Check for a solid power indicator on the extender.
- Position the EAX15 within range of the main router.
- Avoid interference from other electronic devices.
- Verify a stable connection between the extender and router.
- Ensure devices connect to the extended network.
- Use a compatible web browser for setup.
- Clear browser cache and cookies if facing issues.
- Double-check login credentials during the setup process.
- Follow on-screen instructions completely.
- Give the setup process ample time to complete.
- Confirm the extender has a stable internet connection.
- Contact Netgear support if issues persist after setup.
How do I configure Netgear AX1800 Fastlane?
Setting up Netgear AX1800 Fastlane is a convenient way to optimize your WiFi performance. Follow these steps:
- Open a web browser and type “mywifiext.net” into the address bar.
- Log in with your Netgear account credentials.
- Find the “Wireless Settings” option in the Genie interface.
- Look for the “Fastlane Technology” or “Fastlane” option.
- Select the Fastlane option that suits your needs:
- 2.4GHz to 5GHz: For maximum speed on one band.
- 5GHz to 2.4GHz: For maximum speed on the other band.
- Both Bands: For simultaneous speed on both bands.
- After selecting your preferred Fastlane option, click “Apply” or “Save” to confirm the changes.
- Reconnect your devices to the WiFi network to apply the Fastlane settings.
By configuring Netgear AX1800 Fastlane, you can enhance the performance and efficiency of your WiFi network, especially in scenarios where you need dedicated bandwidth for specific tasks.
Read More:Netgear Powerline Setup
Netgear AC1900 WiFi Mesh Extender
Netgear Extender Installation Using 192.168.1.250
FAQs:
A: Ensure the extender is properly plugged in and powered on. If issues persist, consult the troubleshooting section.
A: Yes, once the setup is complete, feel free to relocate the extender to areas with low network coverage.
A: Confirm a stable internet connection, and if problems persist, seek assistance from Netgear support.
A: Yes, accessing the setup page via myWiFiext.net is essential for configuring your extender.
A: The Fastlane setup method streamlines the connection process for a quick and efficient installation.
A: Experiment with different positions, considering the range of your main router and minimizing interference.
Conclusion
In conclusion, the Netgear EAX15 setup is a user-friendly process that significantly enhances your Wi-Fi experience. With the right placement, configuration, and troubleshooting, you’ll enjoy improved coverage and faster speeds. For further assistance, explore the FAQs or contact expert technicians.