Planning to deploy a Netgear WiFi range extender at home to expand your network coverage? Fear not, as this task is straightforward and doesn’t demand any technical prowess. The Netgear Wireless range extender comes equipped with a built-in program, the Netgear Installation Assistant, facilitating a seamless installation process. This guide will walk you through the setup of the range extender using the Netgear Installation Assistant.
Setting up a Netgear Range Extender using the Netgear Installation Assistant
If you’ve recently acquired a Netgear wireless extender, the initial step is to connect it to your home’s host router and complete the Netgear WiFi extender setup. Even if you’ve reset your existing extender to factory default, a full installation is necessary, achievable through the user-friendly Netgear Installation Assistant. Follow the on-screen prompts for a hassle-free setup.
Preparation Before Commencing
1. Position the Netgear WiFi extender in close proximity to the host router during the connection process. After setup completion, you can relocate the extender.
2. Utilize an Ethernet cable to establish a connection between the LAN port of the router and the Internet port of the extender. Ensure a secure connection or opt for wireless connectivity.
3. Power up the main router first, followed by the Netgear extender, maintaining the specified sequence.
4. Allow both devices to boot up entirely before proceeding with the setup. For the initial setup, accessing the login URL mywifiext.net or the default IP will lead you directly to the installation assistant.
Connecting with Netgear Installation Assistant
1. Connect your computer, laptop, or mobile device to the Netgear extender’s WiFi.
2. Join the extender’s default SSID (Netgear_Ext) on your PC or phone.
3. Alternatively, establish a LAN connection between your PC and the extender’s network.
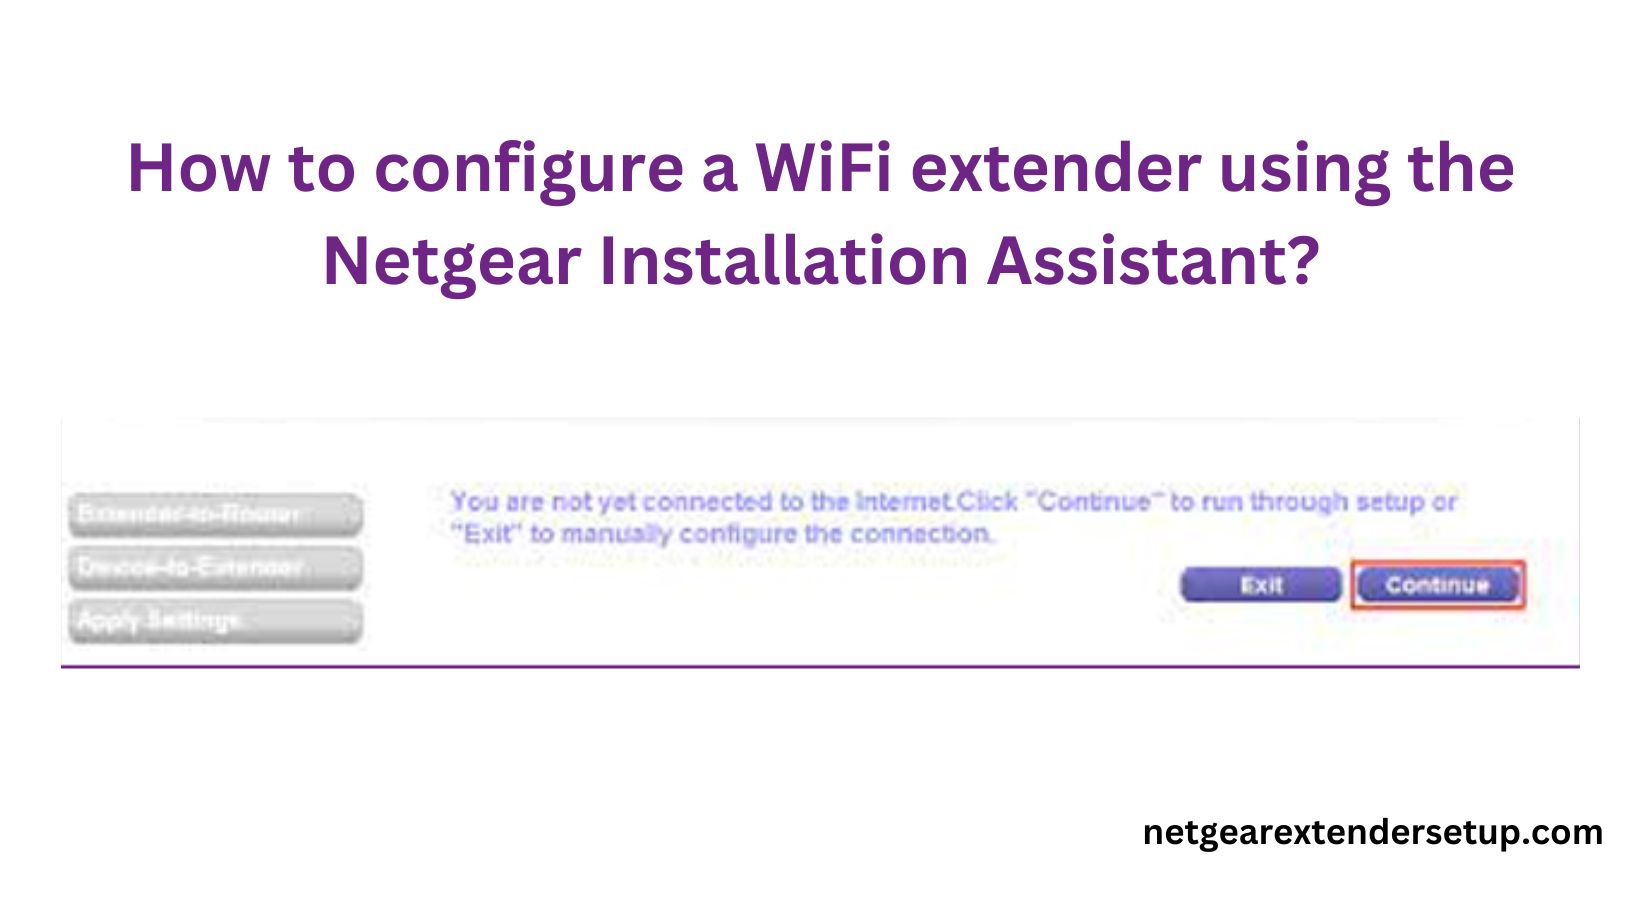
4. Open an internet browser; the Netgear Installation Assistant should appear. If not, visit mywifiext.net or use the IP 192.168.1.250.
5. Follow the prompts displayed on the screen to complete the setup, connecting your extender to the router’s network.
Netgear Extender Setup Completion! What’s Next?
After configuring your Netgear WiFi extender, relocate it to a new position where you wish to access the extended network. Follow these steps:
1. Unplug the Netgear range extender from its current power outlet.
2. Choose a location halfway between the main router and areas lacking WiFi coverage.
Make sure the selected location falls within the router’s range.
Plug in the extender, power it on using the Power button, and wait for the Power LED to display a green light.
Refer to the Router LED on the extender to determine the ideal connection status, indicated by either amber or green.
6. Adjust the extender’s placement accordingly until the LED indicates an optimal connection.
After successfully positioning the Netgear WiFi extender, proceed to connect your device to its network, confirm the network connection, and register your extender with your MyNetgear account to receive updates and notifications. Additionally, leverage your MyNetgear account details to seek support from the Netgear community.
In Conclusion
This guide has provided insights into completing the setup of your Netgear WiFi extender with the Netgear Installation Assistant. Simply connect to the extender’s network, follow the setup instructions, and once done, relocate the extender to enjoy an extended network coverage.
Read More: PS5 Internet Connection
FAQs:
Absolutely! Once the setup is complete, feel free to relocate the extender to a spot within the range of the router.
Not at all. The Netgear Installation Assistant is designed for users of all technical levels, providing a user-friendly experience.
Yes, you can choose wireless connectivity after establishing the initial physical connection between the router and the extender.
Adjust the extender’s placement closer to the router until the LED indicators show an optimal connection in amber or green.
Q: Is it necessary to register the WiFi extender to MyNetgear account?
Registering your WiFi extender to your MyNetgear account is recommended for receiving updates and accessing community assistance.
Absolutely! Choose a location for the extender that is midway between the main router and areas with weak WiFi signals.