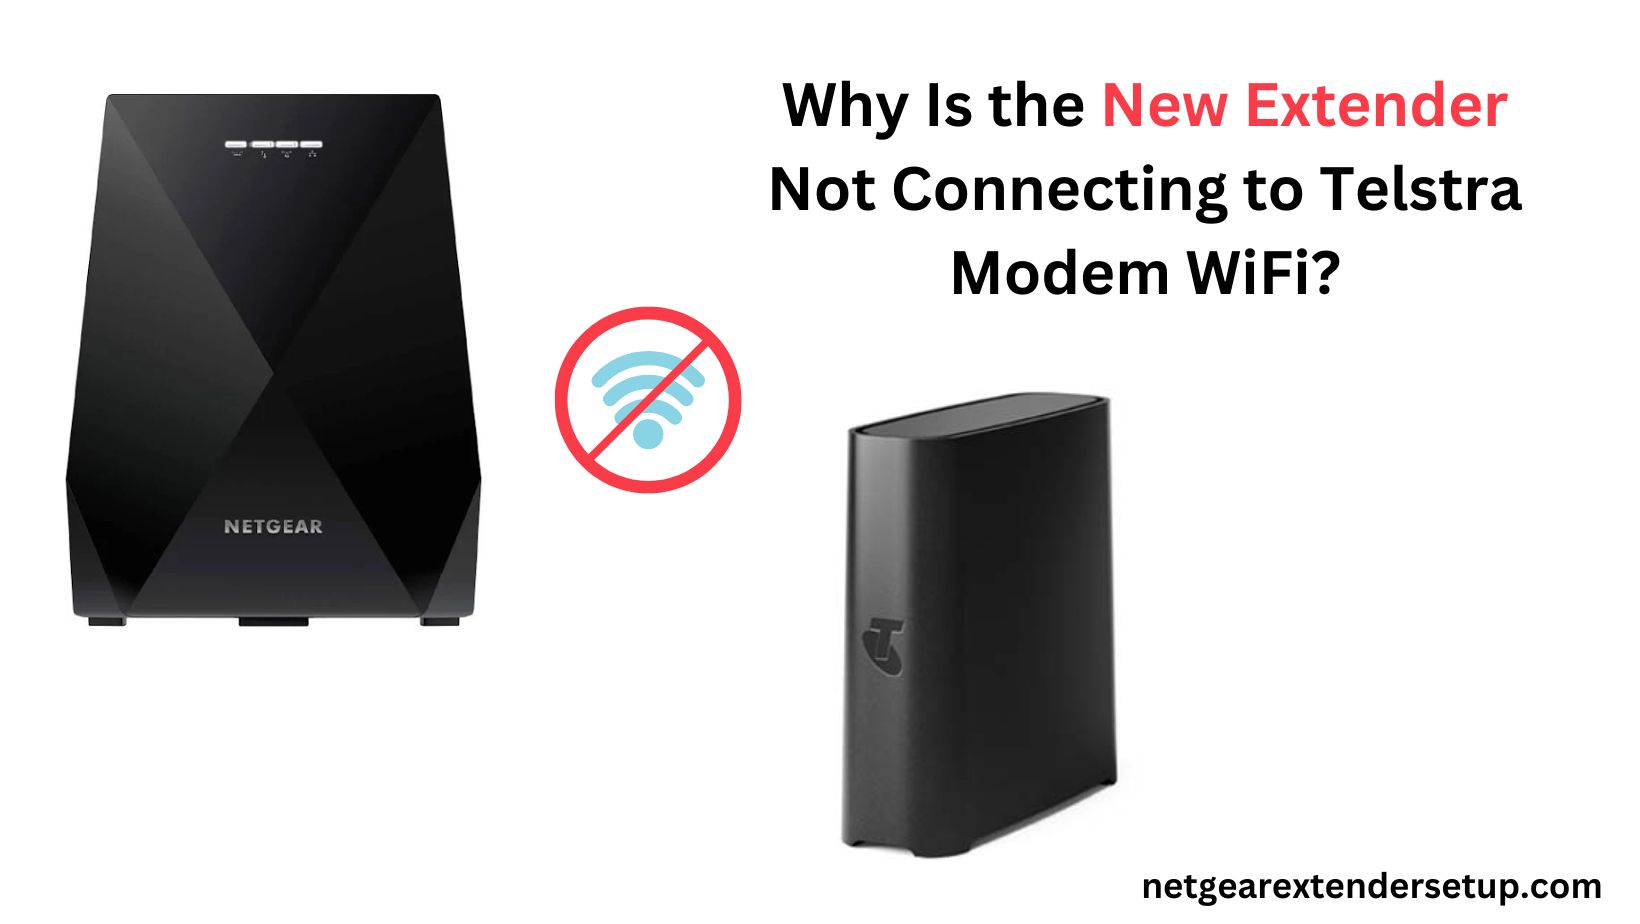
If you’re encountering difficulties in connecting your Netgear WiFi extender to your Telstra modem, the frustration may arise despite following the correct steps outlined in the user guide. Resolving the issue of the new extender not connecting to Telstra modem WiFi is crucial.This blog post intends to offer perspectives on:
1. The reasons behind the lack of connection between the devices.
2. Steps to establish a successful connection between the extender and modem.
Let’s address the problem and guide you through the resolution process.
Troubleshooting: New Extender Not Connecting to Telstra Modem WiFi
Before proceeding, ensure that your Telstra modem is correctly installed and configured. Incorrect configurations on the modem can complicate the connection with the new extender. Confirm this, and if necessary, follow the troubleshooting steps outlined below.
Reset the Netgear WiFi Extender
Whether the extender is new or previously used, resetting it is essential to ensure it operates on default factory settings, facilitating a smooth setup process. Follow these steps to reset the Netgear WiFi extender:
1. Power on your Netgear extender.
2. Locate the Reset button inside a hole on the extender.
3. Using a sharp, pointed object, press and hold the Reset button for 10 to 15 seconds.
4. Release the button; the Netgear extender is now reset to default factory settings.
With the extender reset, it is now prepared for the setup process.
Connecting the New Extender to Telstra WiFi
To connect your extender to the Telstra modem, you have two options: WPS method or using the web interface and installation assistant. Given the issue you’re facing, we recommend the latter. Access the New Extender Setup page on your computer using the web URL mywifiext.net or the default IP address.
Step 1: Power Down the Devices
Temporarily power off both the Telstra modem and Netgear extender. This ensures a smooth connection process.
Step 2: Make the Connections
Using a LAN cable, connect the Internet port of the WiFi extender to the LAN port of the modem. Additionally, connect your computer to the extender using another LAN cable.
Note: While wireless connections are an option, wired connections are recommended to avoid setup errors.
Step 3: Power Up the Devices
Power on the Telstra modem first and wait for stable LEDs. Then, power on the Netgear extender and observe the Power light.
Step 4: Carry Out Setup Instructions
Open a browser on your computer, and you should land on the Netgear extender setup wizard. If not, enter mywifiext.local, mywifiext.net, or default IP 192.168.1.250 in the URL bar. Follow the prompts to complete the Netgear extender setup.
Conclusion
By following these steps, you should successfully set up your Netgear WiFi extender with the Telstra modem. The frustration of the New Extender Not Connecting to Telstra Modem WiFi should be resolved, allowing you to enjoy extended WiFi coverage in your home.
Read More: Connect T-Mobile 5G
FAQs:
A: Ensure correct modem configurations and consider resetting the extender.
A: Yes, place them close and follow setup steps for wireless connectivity.
Q: What if the Power light on the extender doesn’t stabilize?
A: Retry the reset process and ensure a stable power source.
A: Yes, the WPS method is an alternative, but the web interface offers more control.
A: It minimizes the risk of disconnections and setup errors.
A: Use mywifiext.local, mywifiext.net, or the default IP address in the URL bar.